Special Topics Module 2
Research & Activity Documentation
Andrew Geevarghese, Sang Yoon, Gladdens Lau
Project 2
Module 2
In Project 2, our focus will be on further developing assets, refining our individual sections, and deepening our research to ensure the quality and coherence of our work. Each team member will work towards becoming proficient in their assigned tasks, honing the skills to contribute effectively to the larger project. By the end of this phase, we aim to test and integrate all the components we've developed into Unreal Engine, setting a foundation for execution in Project 3. This will ensure that we are ready for full integration in the final stage.
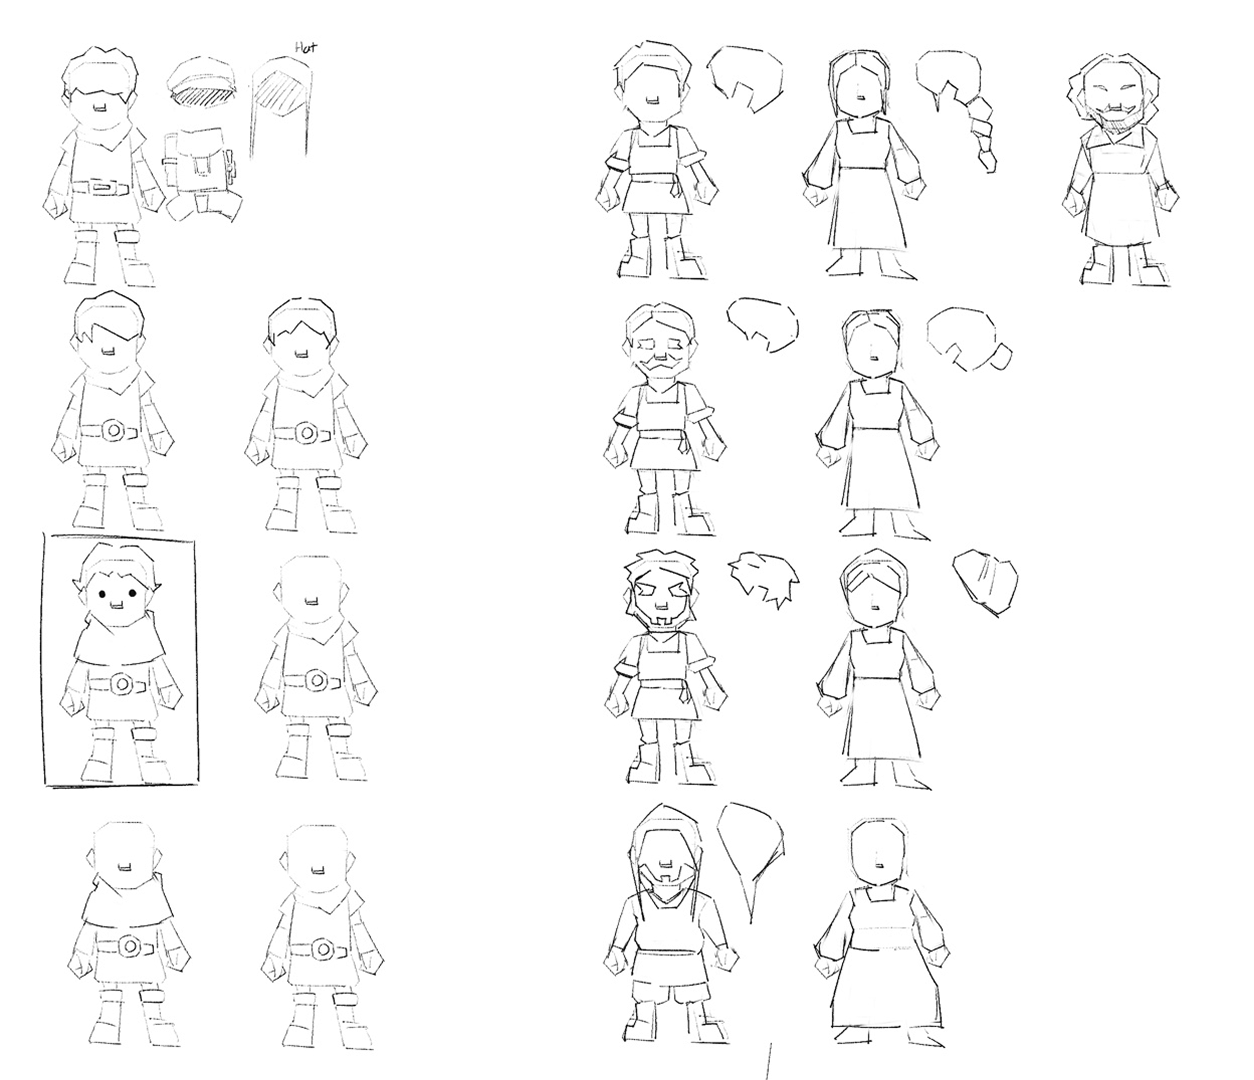
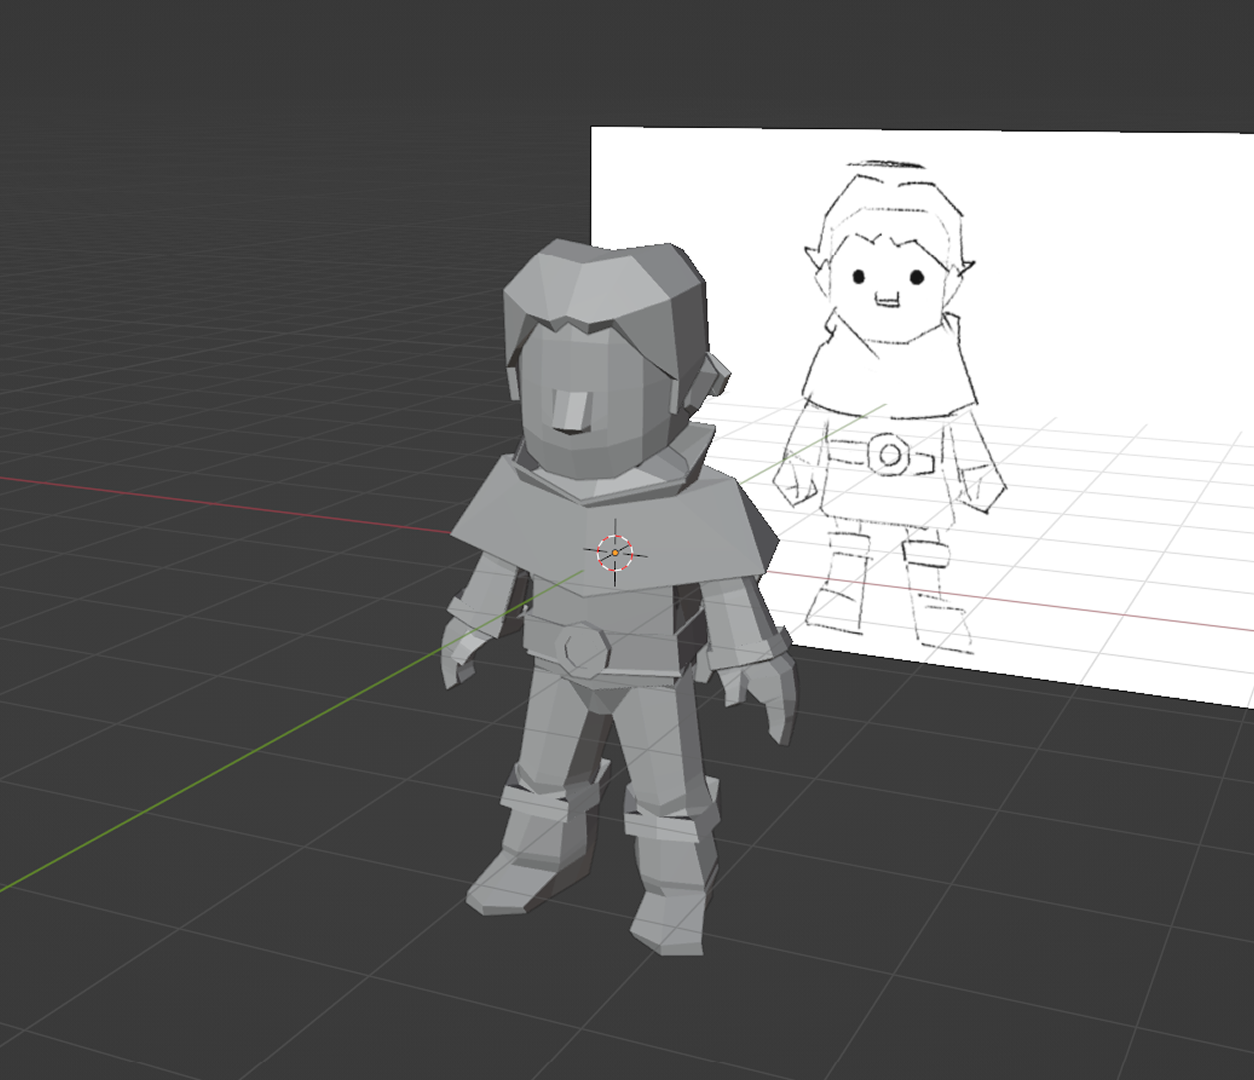
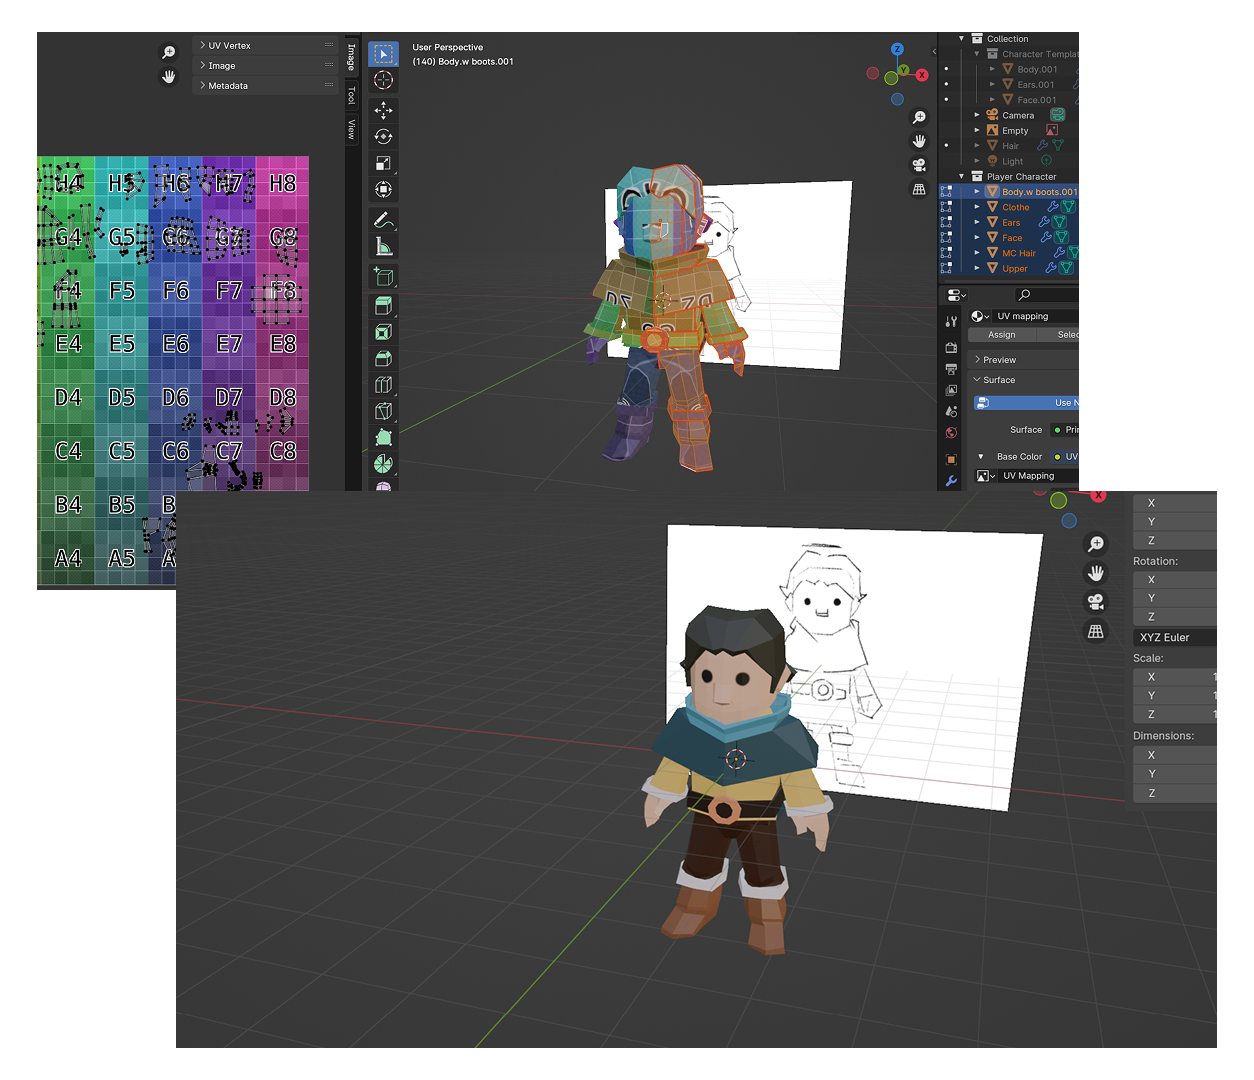
Action Research Cycle Sang — Character Models


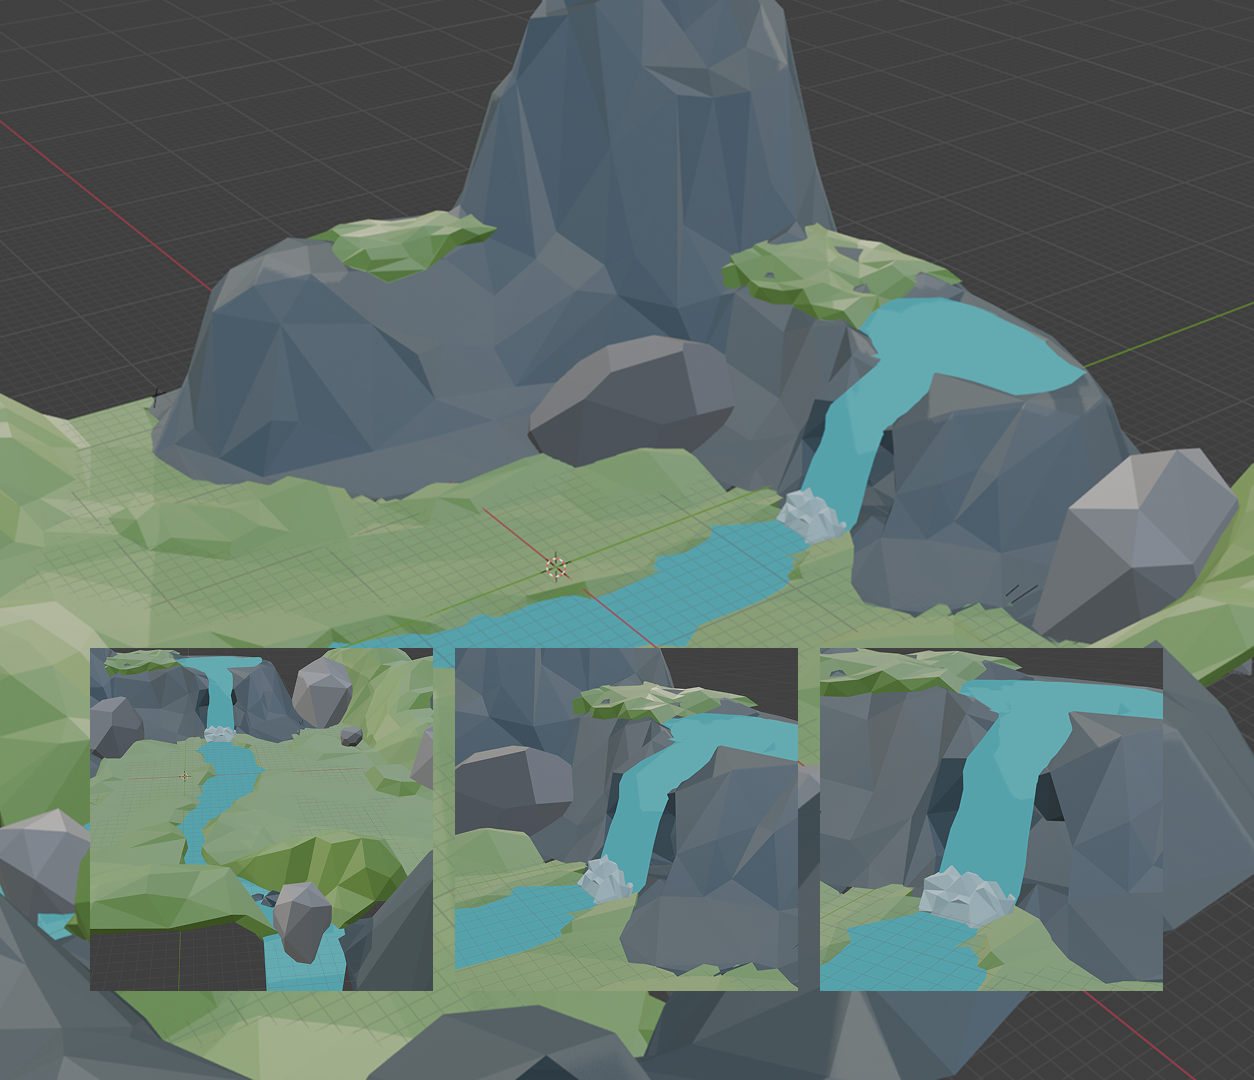
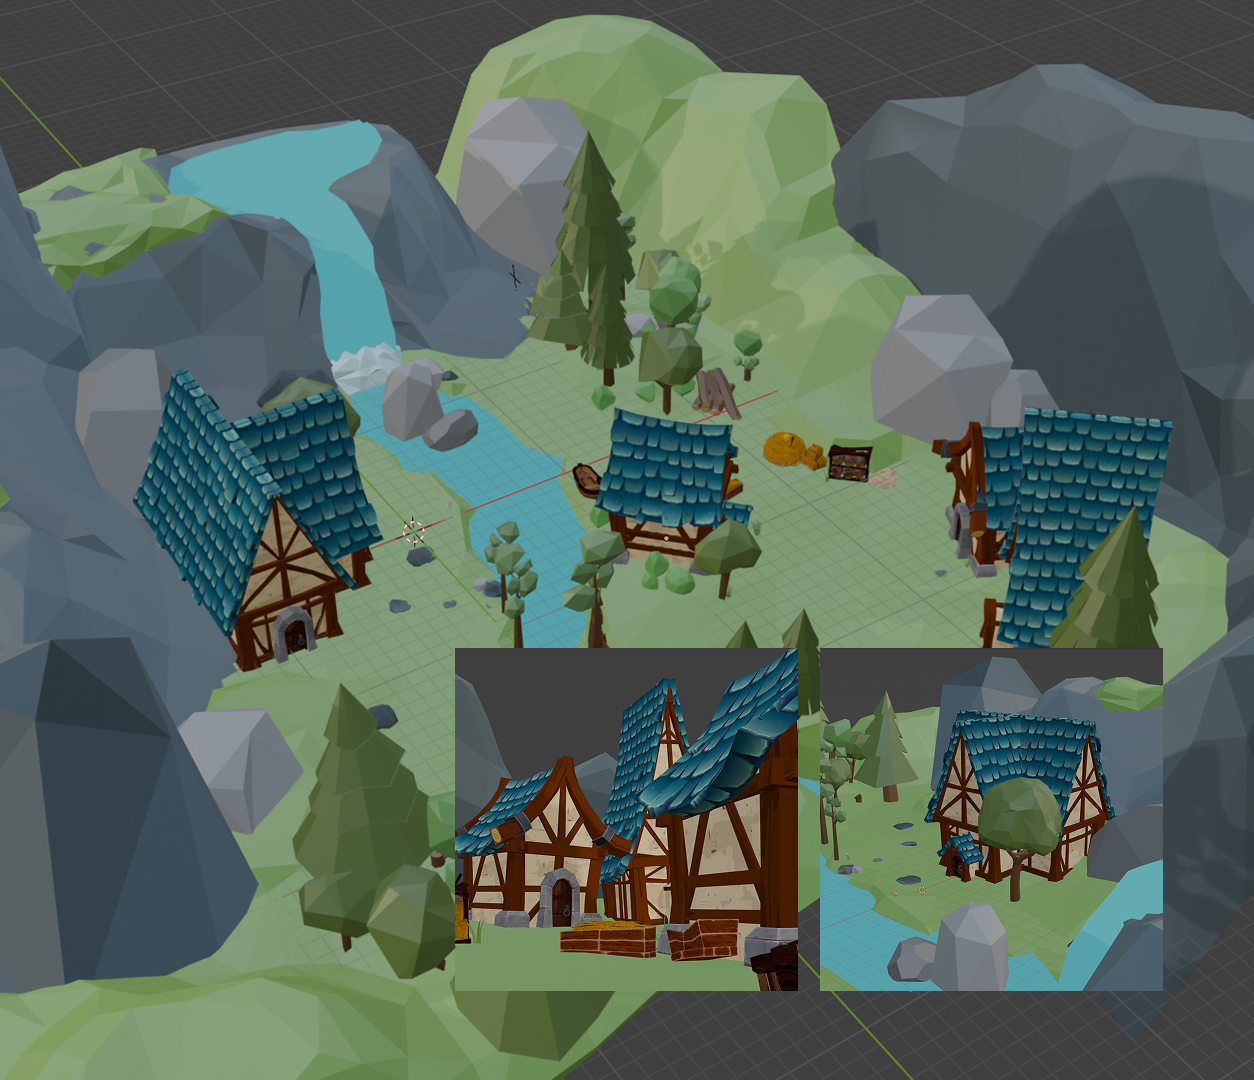
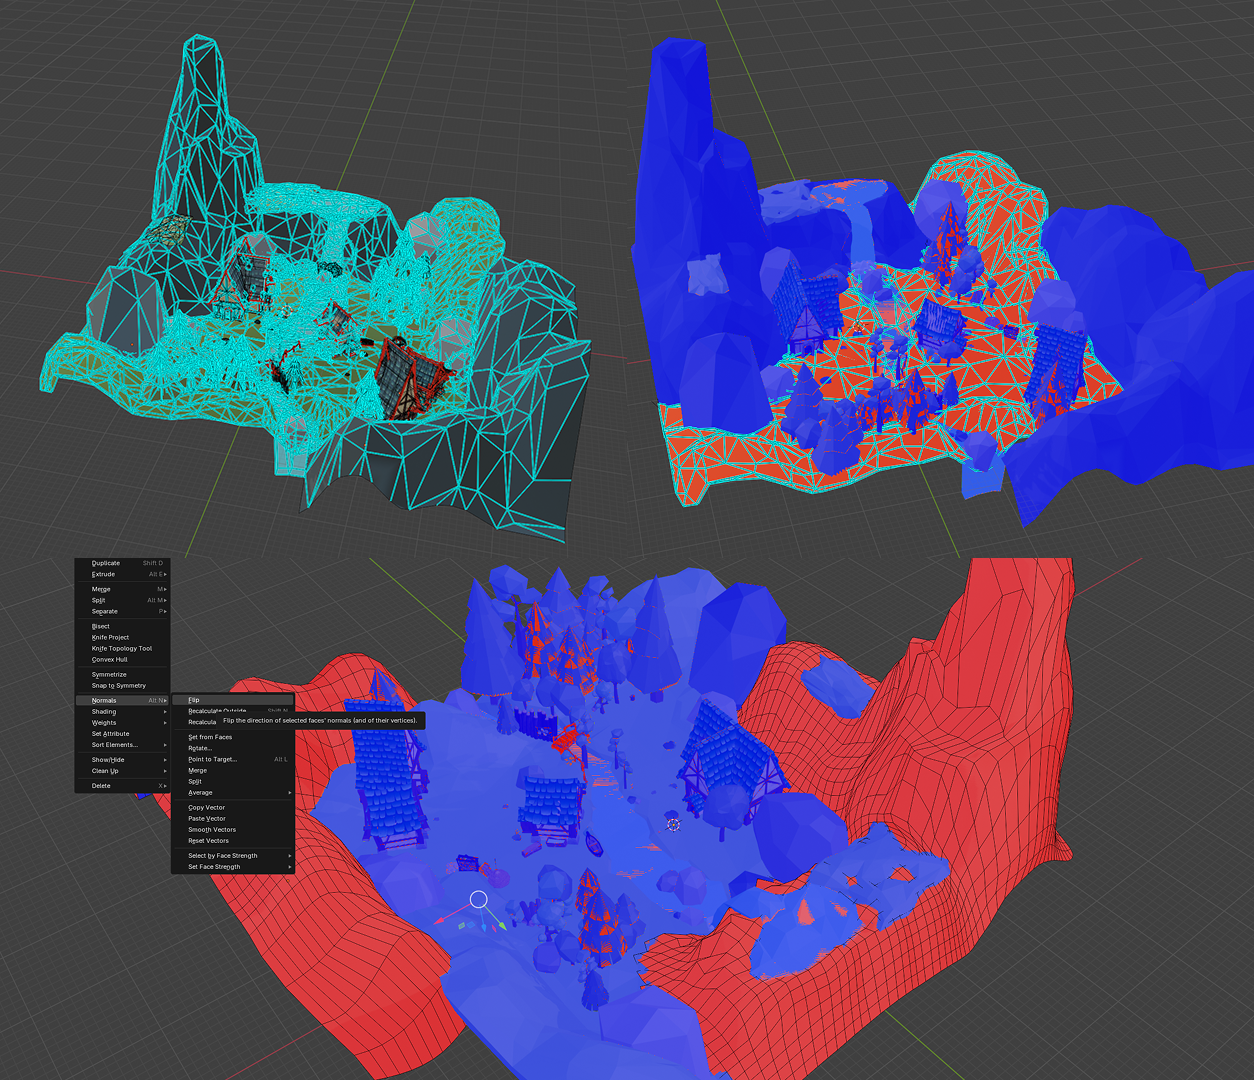
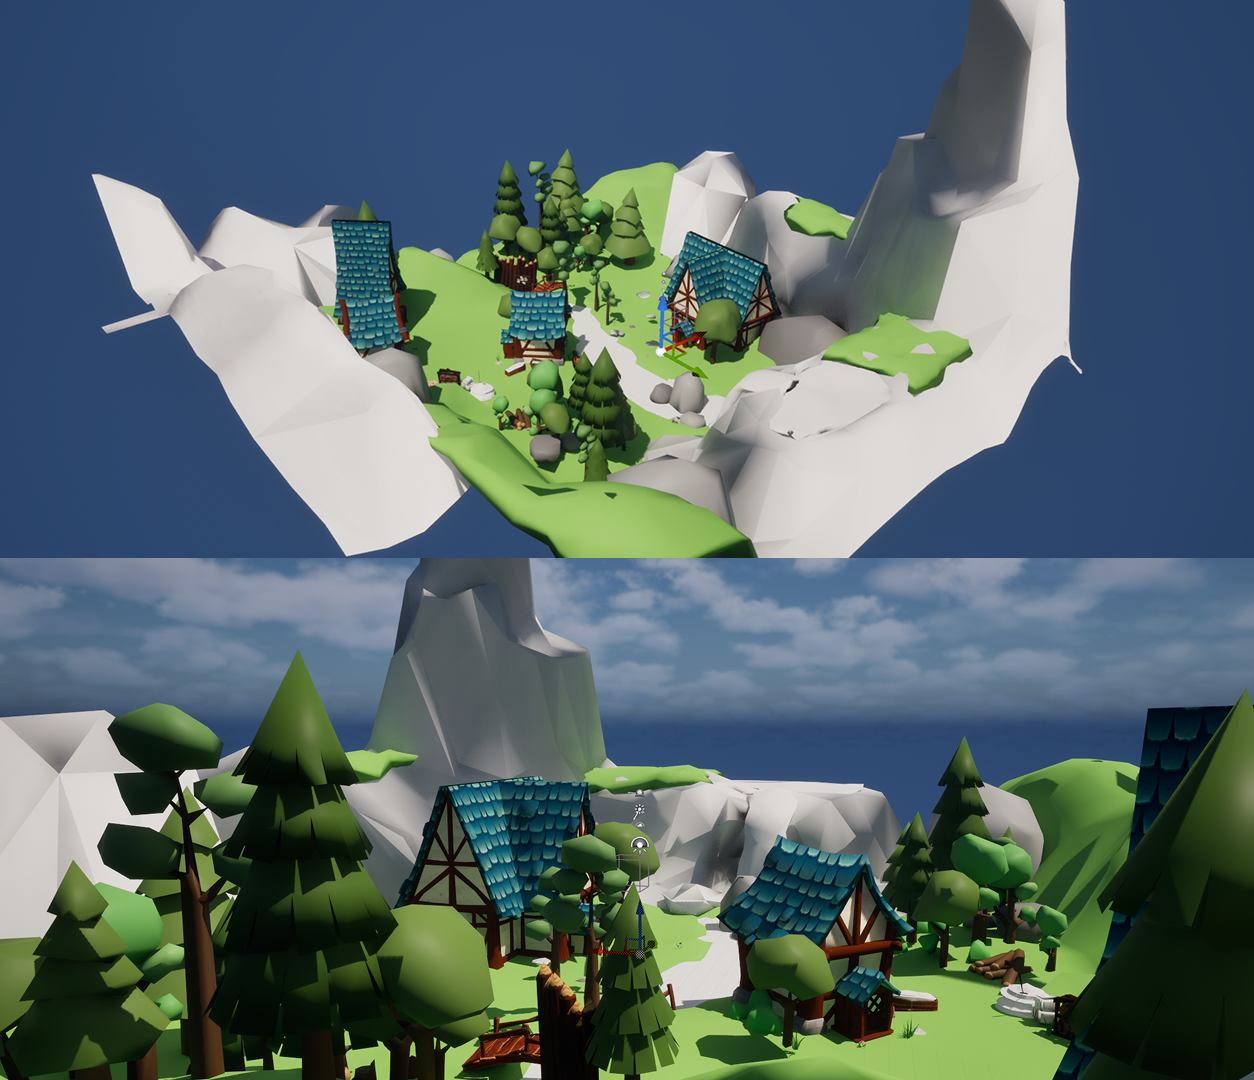
Action Research Cycle Gladdens — Map


Action Research Cycle Andrew — Interactions in Unreal
Project 2
Prototype Research and Development
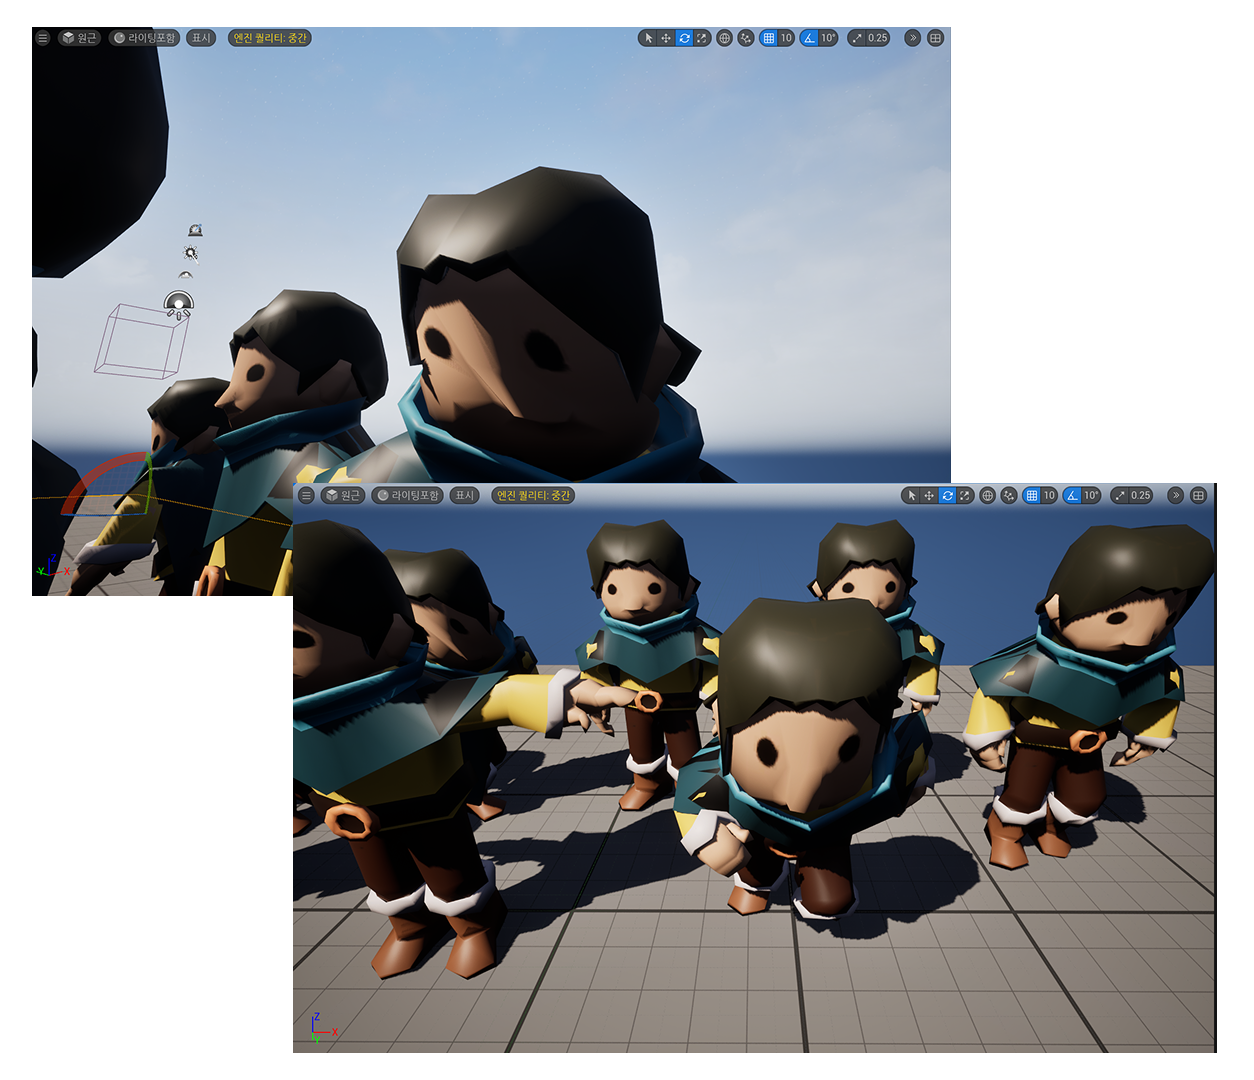
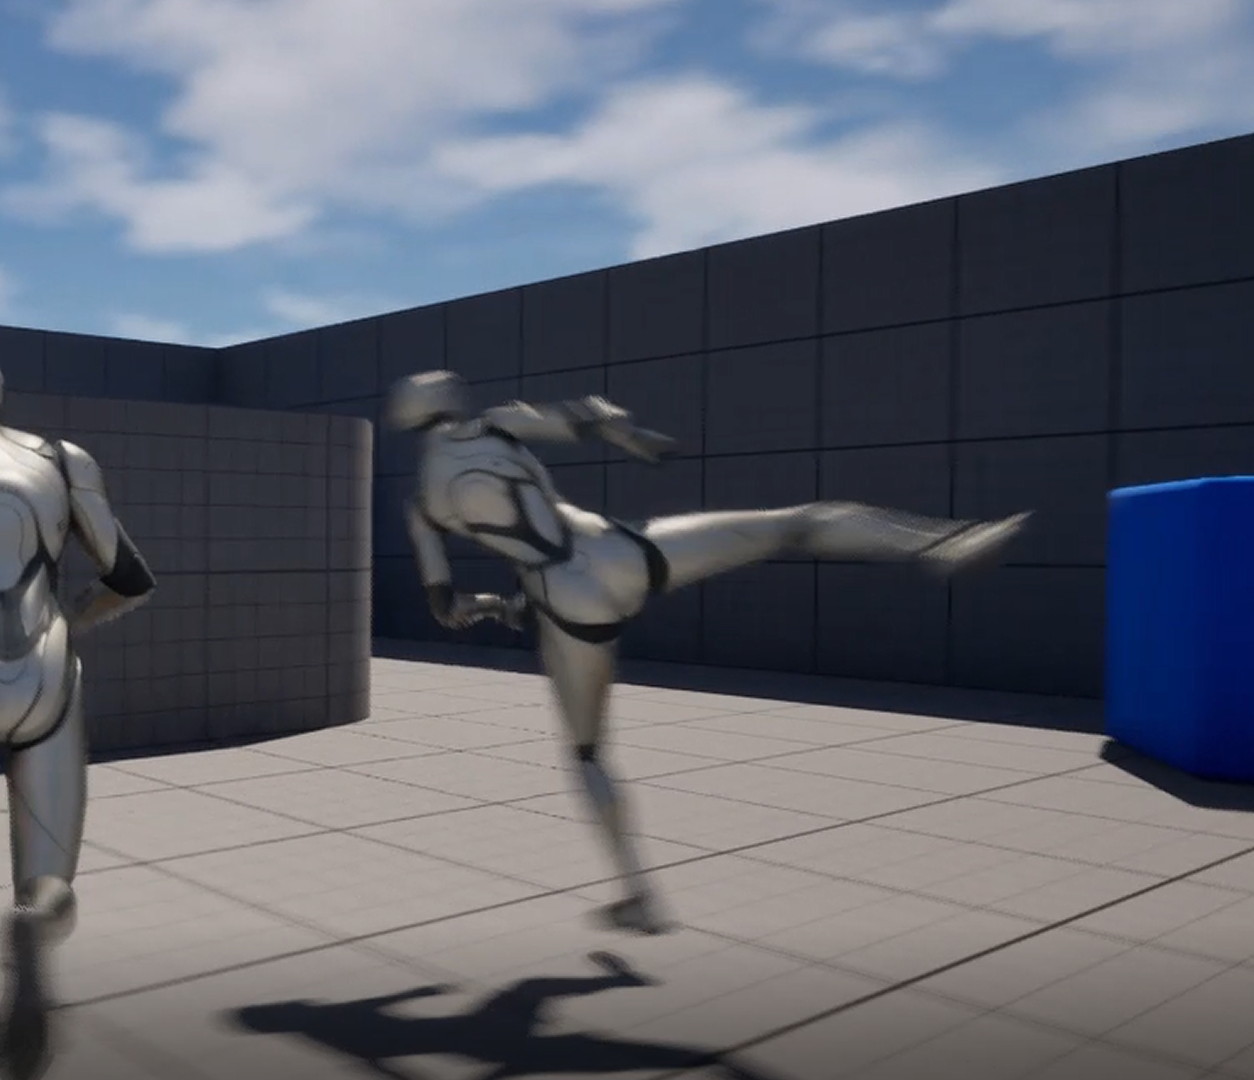
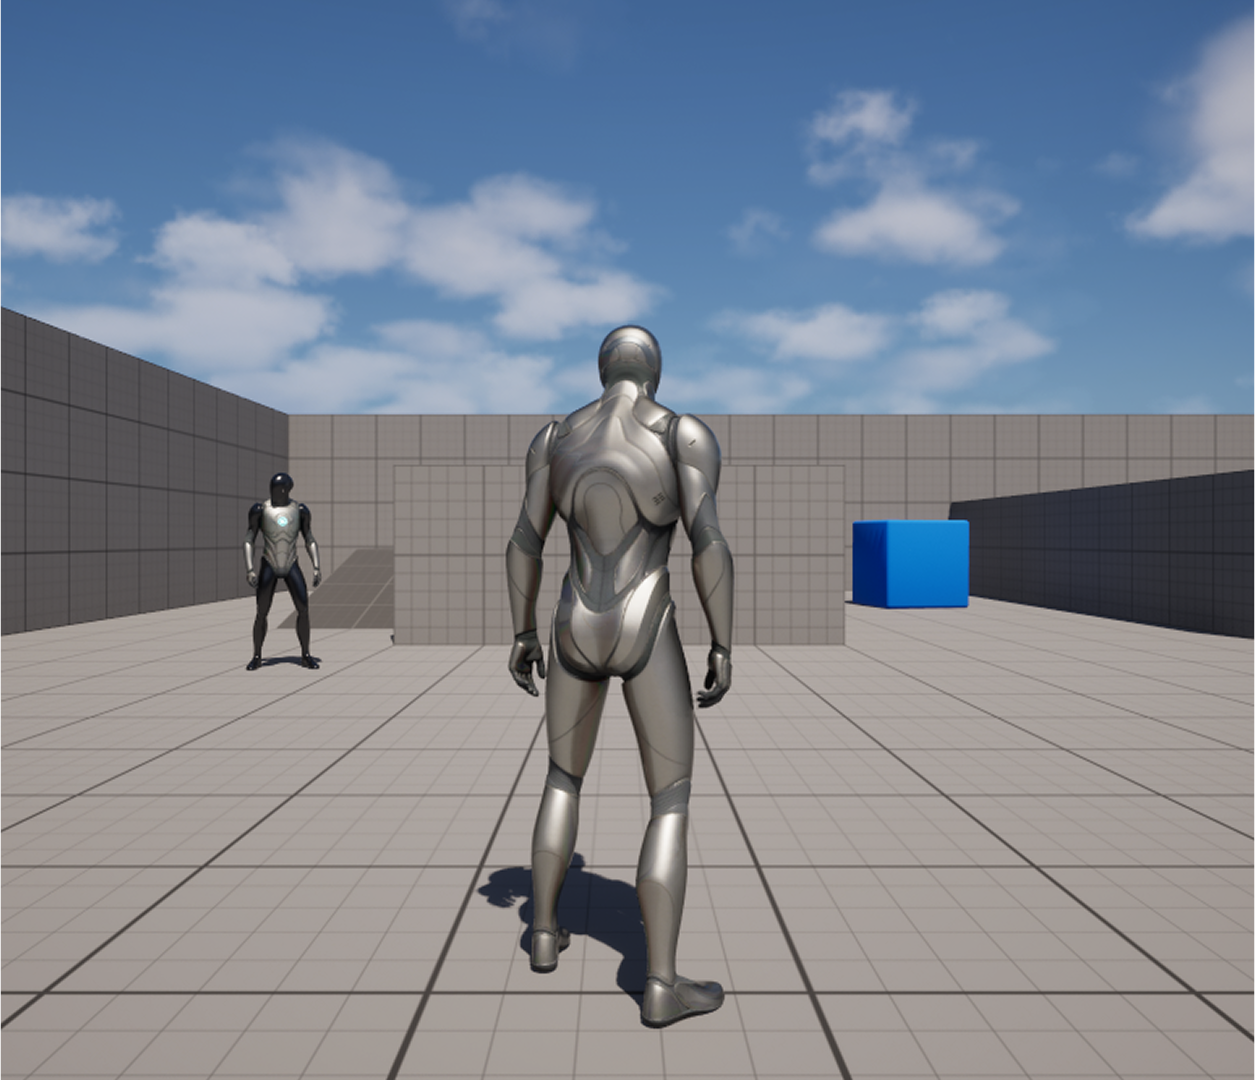
This is the Final Demo of our Project 2. It combines the assets which the three of us has been doing together. We gained insights on the intigration process and also decided that our Unreal file manager will be Andrew. At the end, we will be iterating with his version of the Unreal project and assist in the process of combining the files together.
Our next steps include fixing some technical issues and improving the overall quality of the game. Some of our considerations indlude, but not limitied to:
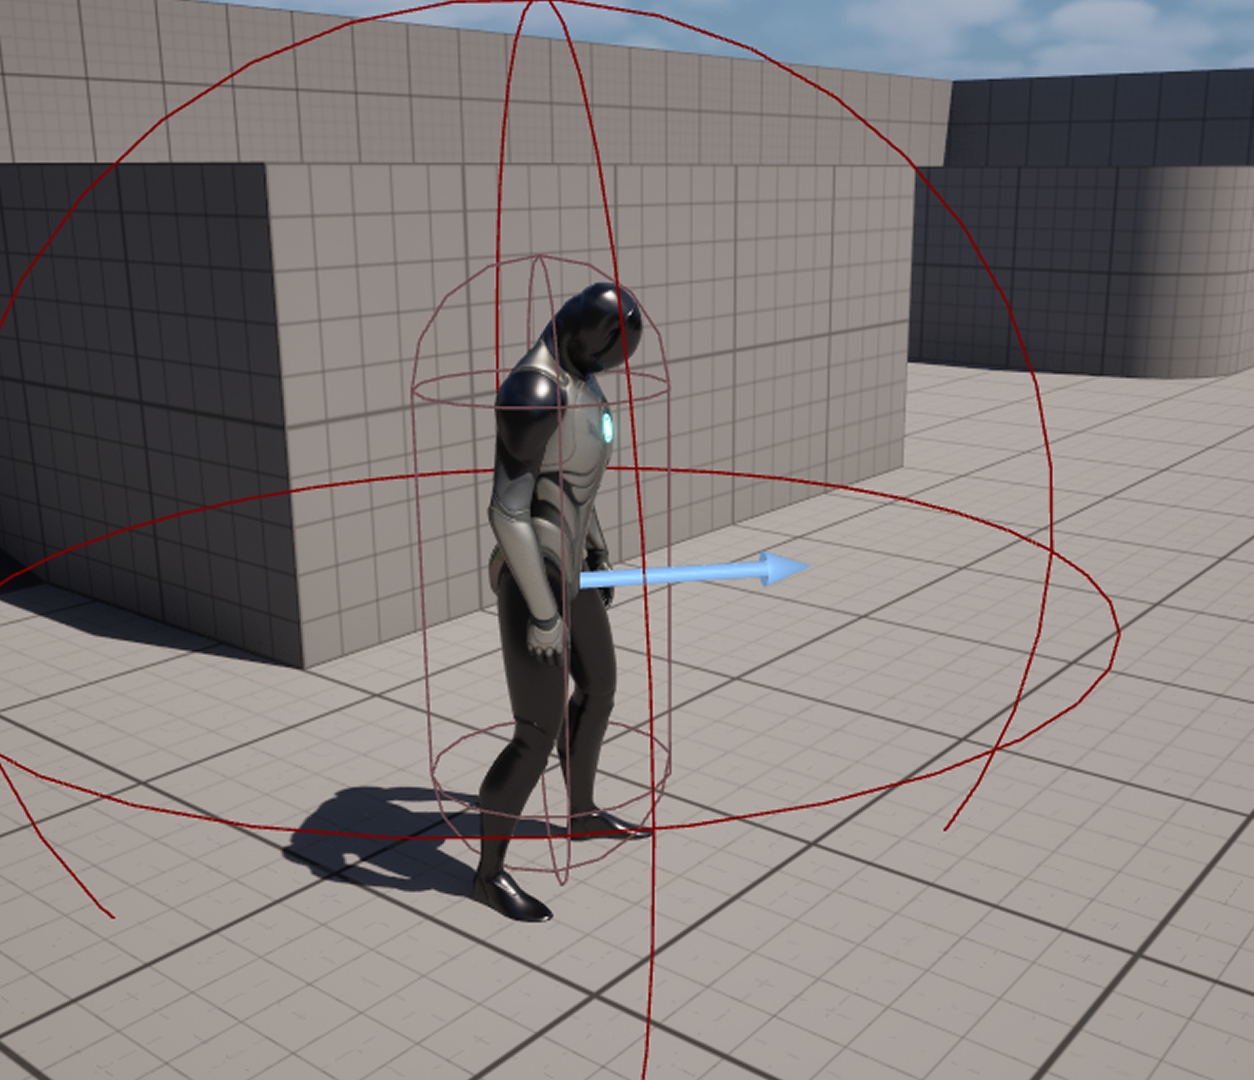
- Resolve the issue of the rig animation, and texture
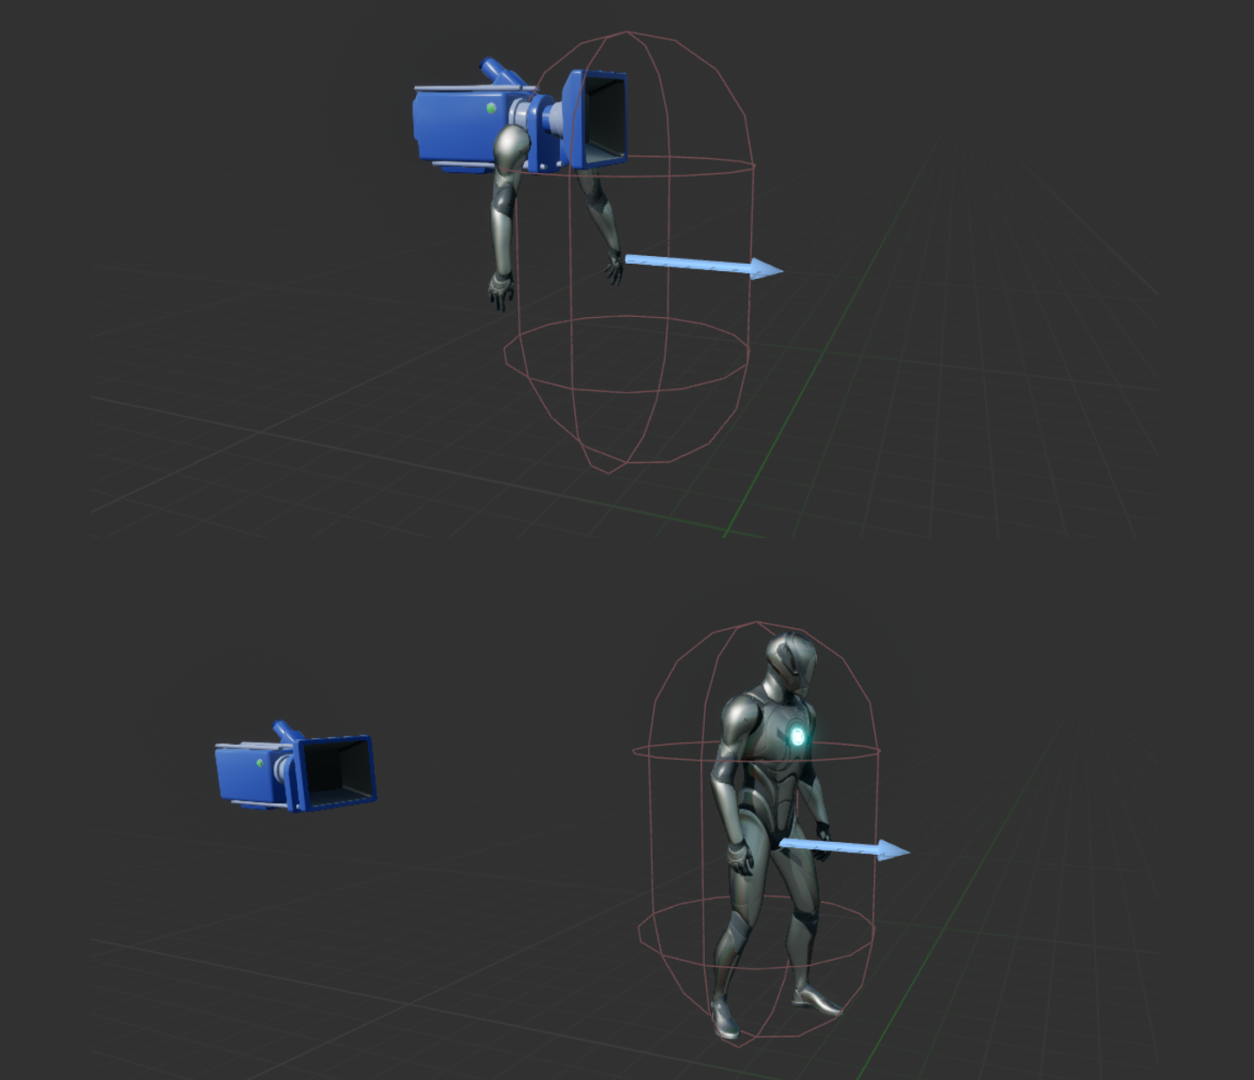
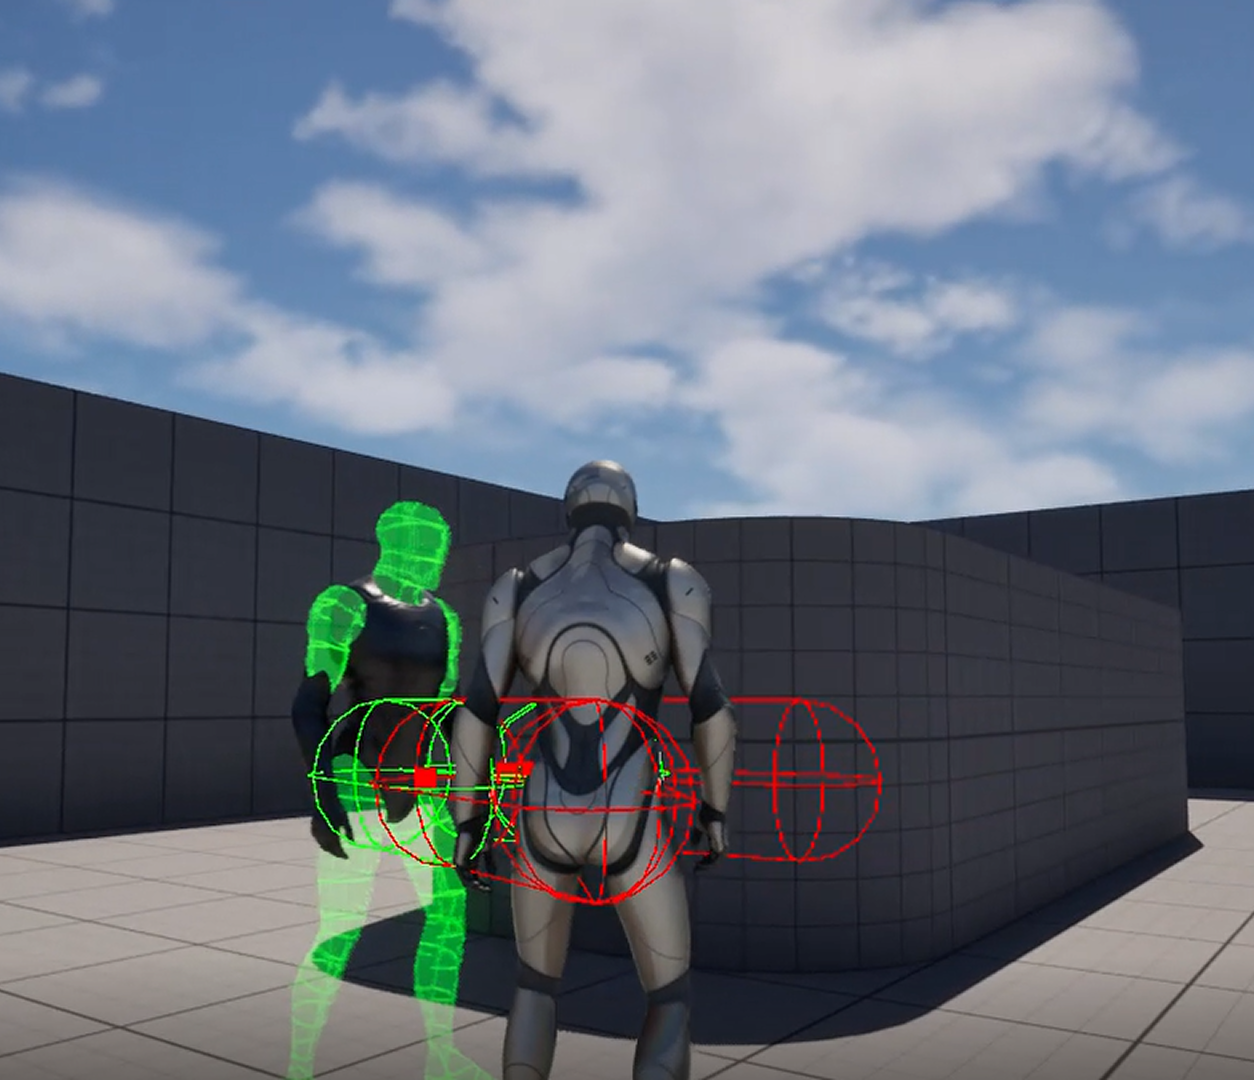
- Model NPC’s and a ominous character for the horror aesthetic
- Create assets and props that can enhance the atmosphere of the game
- Resolve the issue of texturing
- Animations for the Waterfall
- Interactive items
- Map boundaries
- lighting
- Addition of weapons
- Make stylized clouds
- Fix damage system
- Addition of player attack animations for combat system
- Addition of Inventory
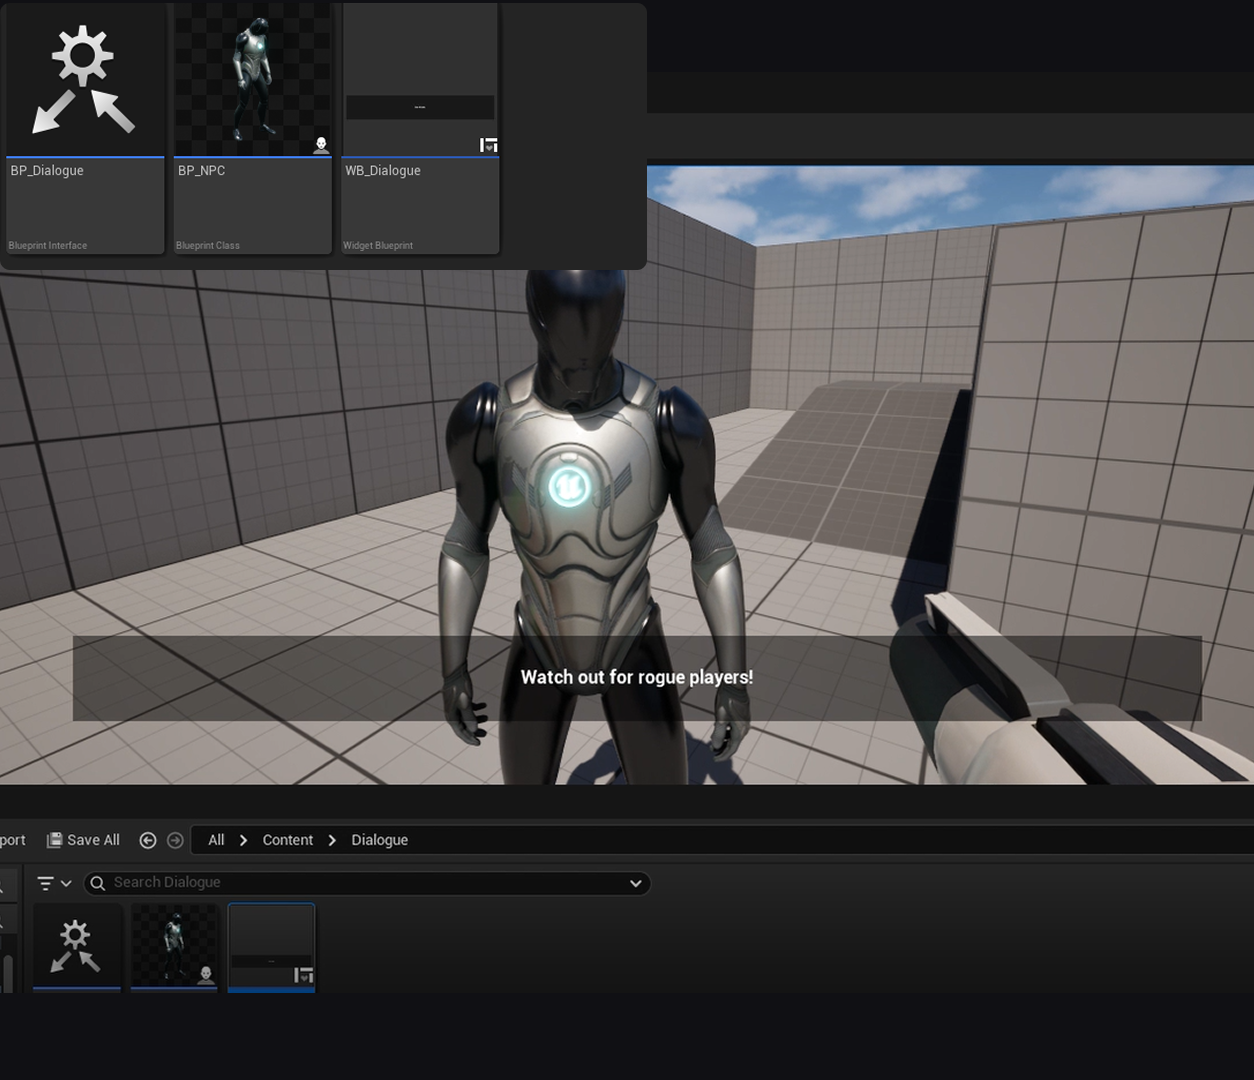
- Modifying design of the dialogue boxes
- Adding meaningful dialogue
- Merging all the content together into the map
Powered by w3.css