Special Topics Module 3
Research & Activity Documentation
Andrew Geevarghese, Sang Yoon, Gladdens Lau
Introduction
This project explores how a relaxing open-world experience can be subtly transformed by elements of psychological horror. Centered around the question, How might we develop a game concept that blends a relaxing atmosphere with a subtle horror twist in an Unreal Engine prototype or showcase?, our goal is to create a foundational experience that shifts mood through environment, pacing, and narrative. Using Unreal Engine and Blender, we’ve focused on developing key assets, refining individual contributions, and building a cohesive prototype.
Module 1: Concept
Research
We explored Unreal Engine to understand its capabilities in order to design a game concept. Alongside our exploration, we discussed various themes and narratives to introduce to the gameplay. Our goal is to create a foundational prototype that consists of 3d models, a simple map, character animations, basic game mechanics and light narrative. We will leverage Blender for creating 3D models and Fab.com for ready-to-use assets and animation to ensure an efficient work flow.
Action Research Phase 1 - Andrew
For the first phase of the project, I was exploring tools that would be great in creating a virtual experience or game. Hence, I explored as many 3D environments and game engines as possible for Action 1.
I found my experience to be quite entertaining and I feel a bit more certain about the path as it.
Here's my insights:
- Spline was a very approachable tool that I am very familiar with. The physics and game controls are easy to manipulate. However, the application seemed to glitch out even with the sample game I made.
- Unity requires a bit of bouncing around the UI which I found a bit disorienting. However, it has a strong community for tutorials and assets
- Unreal engine was the easier to start up and use game mechanics off the bat. However, from tutorials that I have viewed, it seems to have a steeper learning curve than Unity.
- I found Blender's UI to a bit harder to navigate that competitors but due to the cost-free nature, I feel it's the most viable option for creating 3D assets.
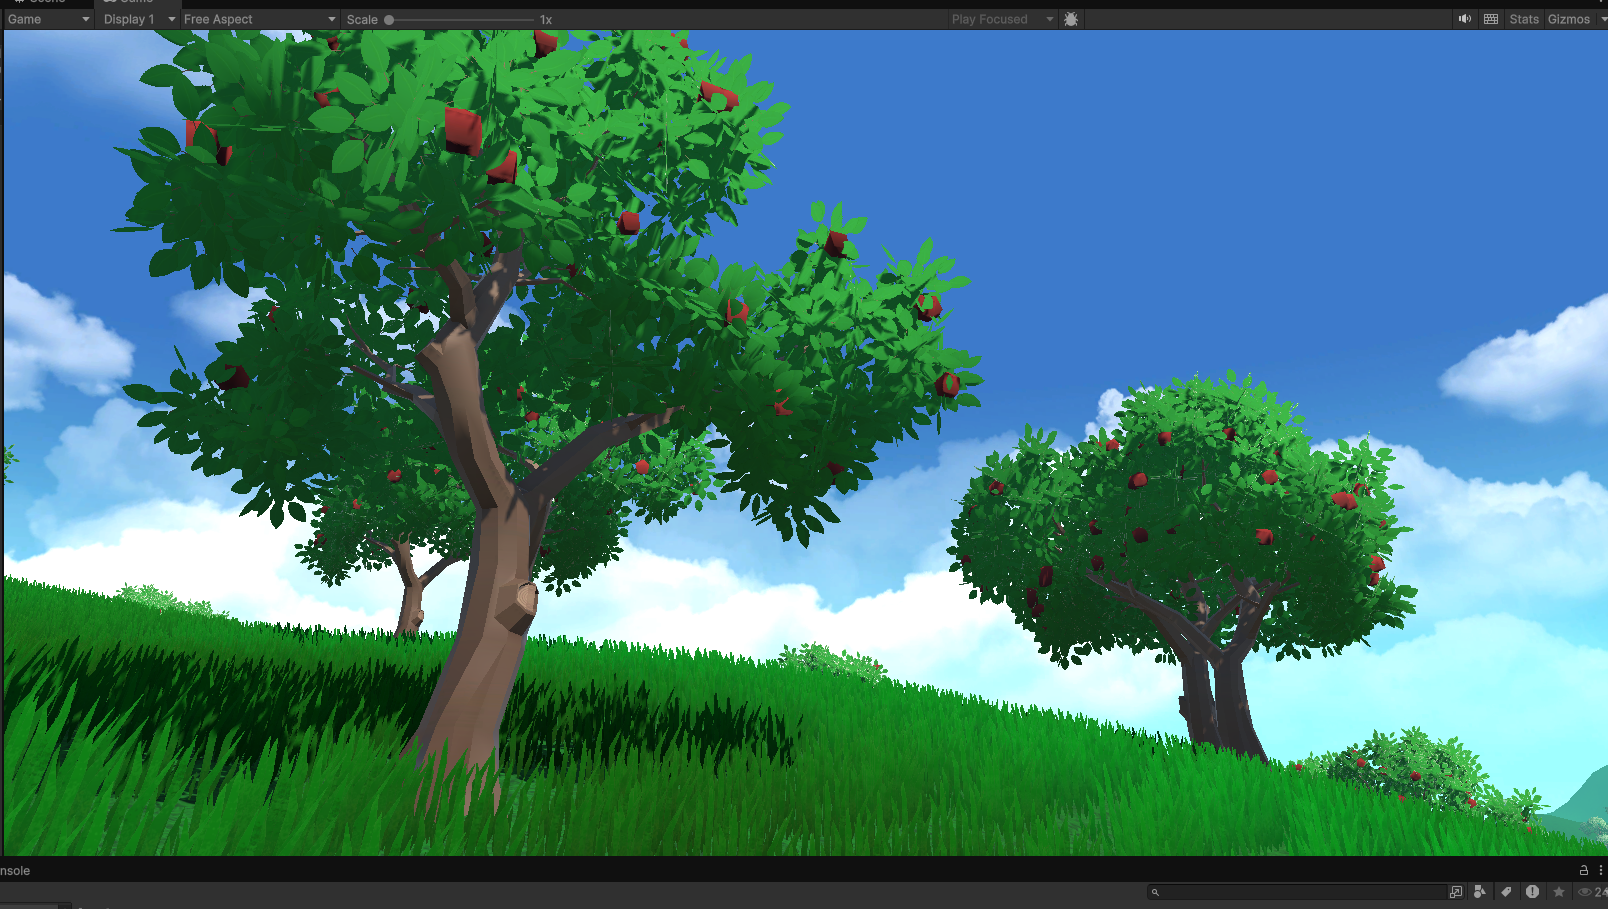
I wanted to try Unreal Engine because of it's high end application in AAA games and creation of visual media like The Mandalorian as well as wanting to acquire new skills in game development. Additionally, due to the cleaner visuals that can be created with Unreal Engine as well as an easier start up. I decided go with a Blender + Unreal Engine route Since Sang and Gladdens shared a similar interest of wanting to explore Unreal Engine, I decided to collaborate with them on a game experience where we broke down the roles into 3 main roles: 3D character modeler, Map Designer and Game Developer
Done by: Andrew


Action Research Phase 1 - Sang
blah blah blah
Done by: Sang


Action Research Phase 1 - Gladdens
I looked at the path ahead and explore the project options for this term. I was able to explore and research about possible projects and think about which ideas would be helpful to improve my skills. After this activity, I decided to work collaboratively with Andrew and Sang on an Unreal project. I decided on this path because I think learning Unreal also provides other learning oppoutunities such as learning the program, improving my 3D skills in blender, how to make landscapes, and lighting rendering.
Done by: Gladdens


Action Research Phase 2
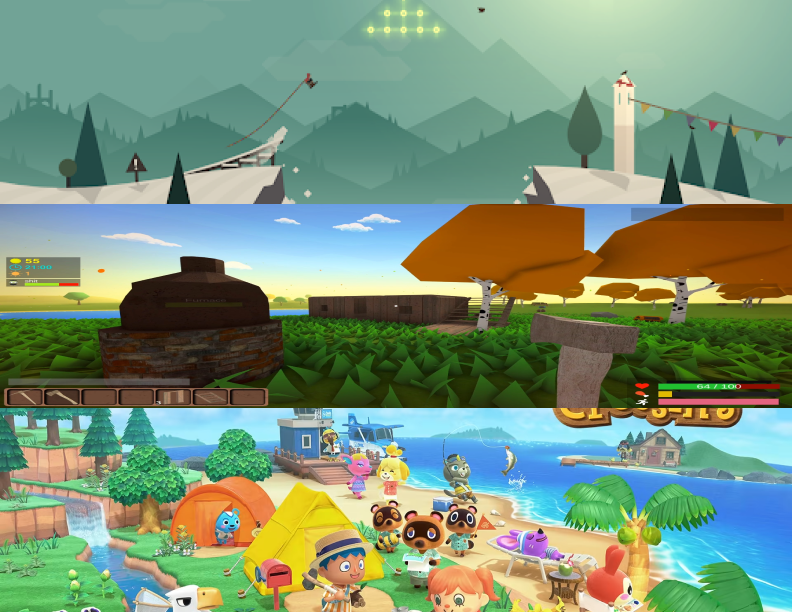
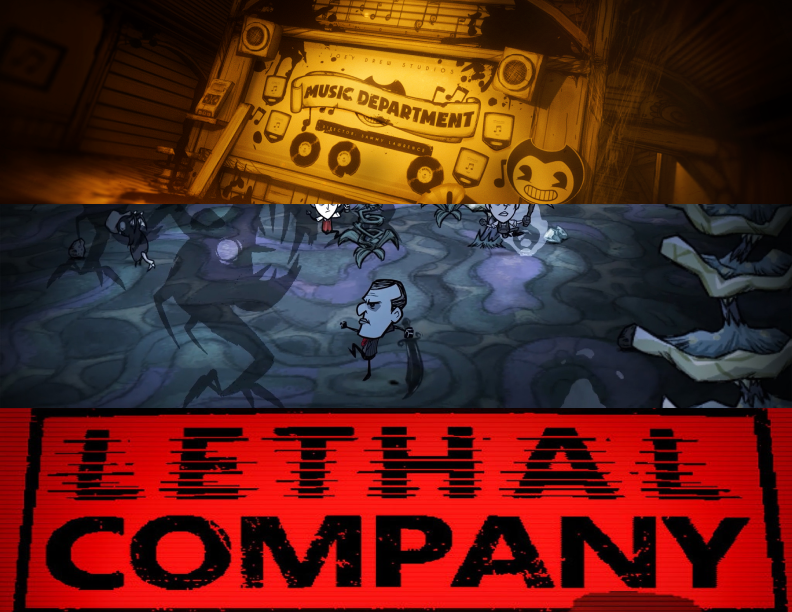
This week's focus was to check the viability of our path choice. We chose the game experience path with Unreal Engine as the platform and wanted to gain inspiration from games we personally enjoy. Some things we explored are:
- Some inspirations for games for peaceful and horror themes which helped fuel further development of the theme and open world nature of the game concept we want.
- We needed to figure out the version that would be the most apt for us. Based on our research we found that Unreal Engine 5.5 would be the most applicable for us due to the higher polygon counts, better lighting and rendering engines than previous versions of Unreal Engine.
Done by: Andrew, Sang, Gladdens

Project 1: Concept
The concept we are proposing is... An Unreal experience with a chill open world with a horror twist theme.
We established attainable goals and aspirations for the end of the semester.
These are our desired outcomes, however we understand that adjustments can and may be necessary based on the
circumstances.
- Create simple assets (characters and objects)
- A small section of the landscape
- One user interaction
- Simple character animations?
- Draft a short storyboard to covey the narrative and “characters”
Module 2: Prototype
Research
In Project 2, our focus will be on further developing assets, refining our individual sections, and deepening our research to ensure the quality and coherence of our work. Each team member will work towards becoming proficient in their assigned tasks, honing the skills to contribute effectively to the larger project. By the end of this phase, we aim to test and integrate all the components we've developed into Unreal Engine, setting a foundation for execution in Project 3. This will ensure that we are ready for full integration in the final stage.
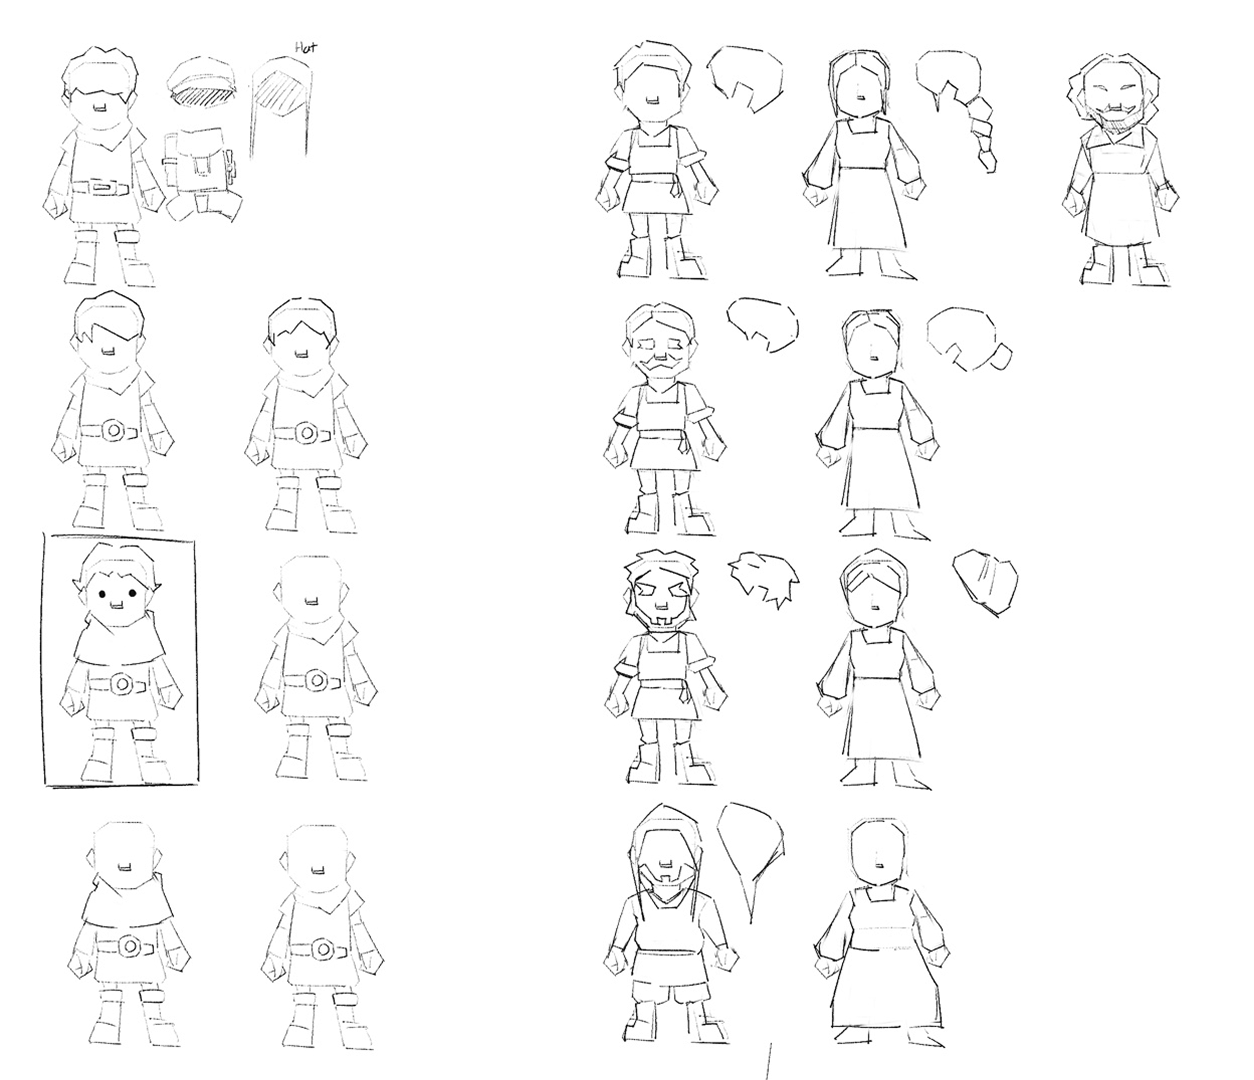
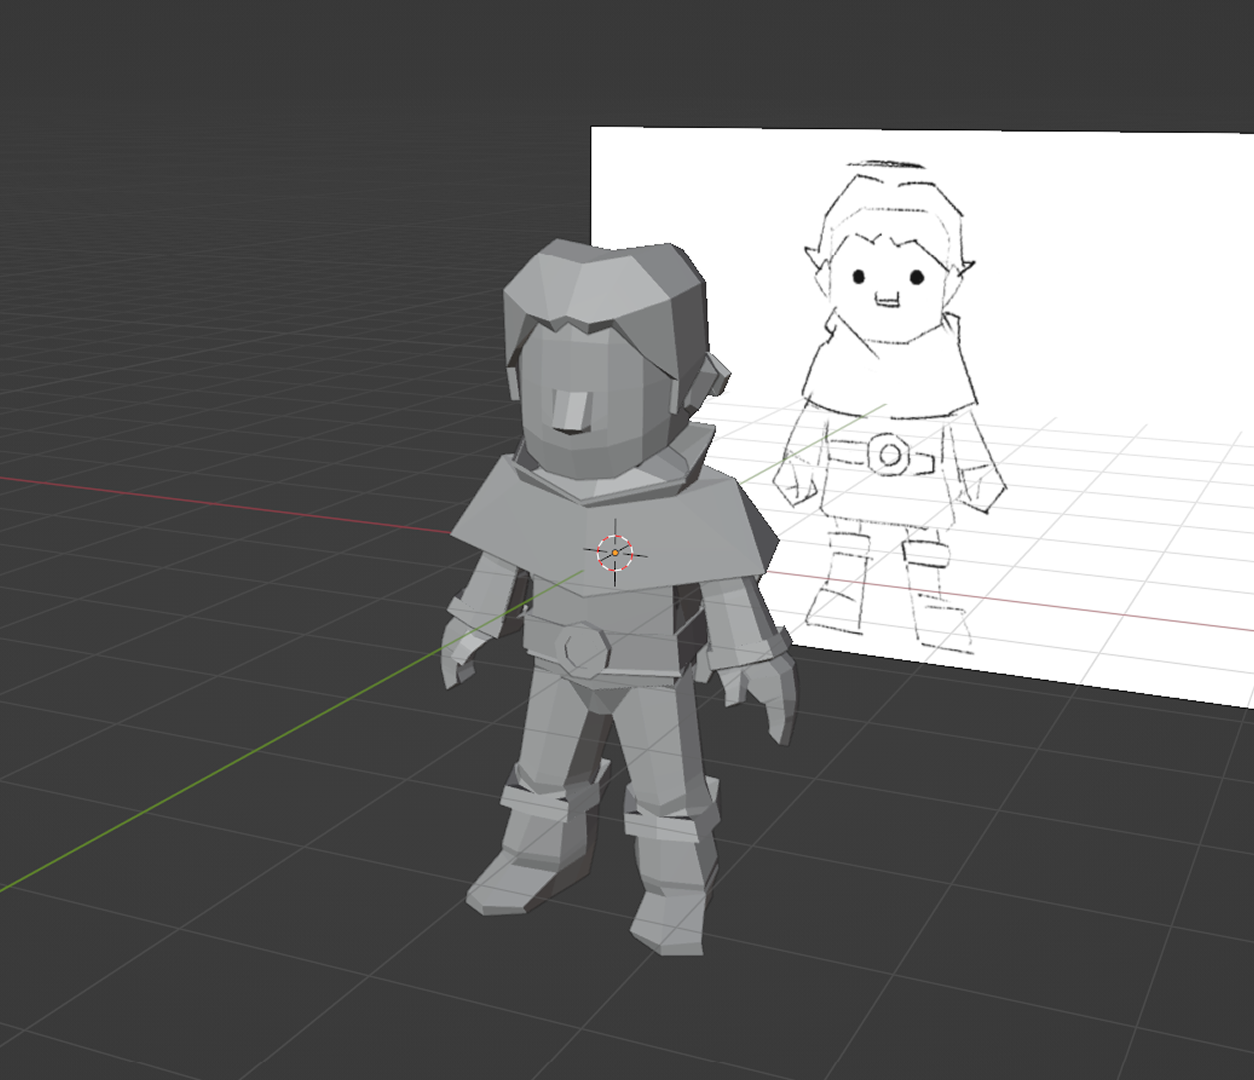
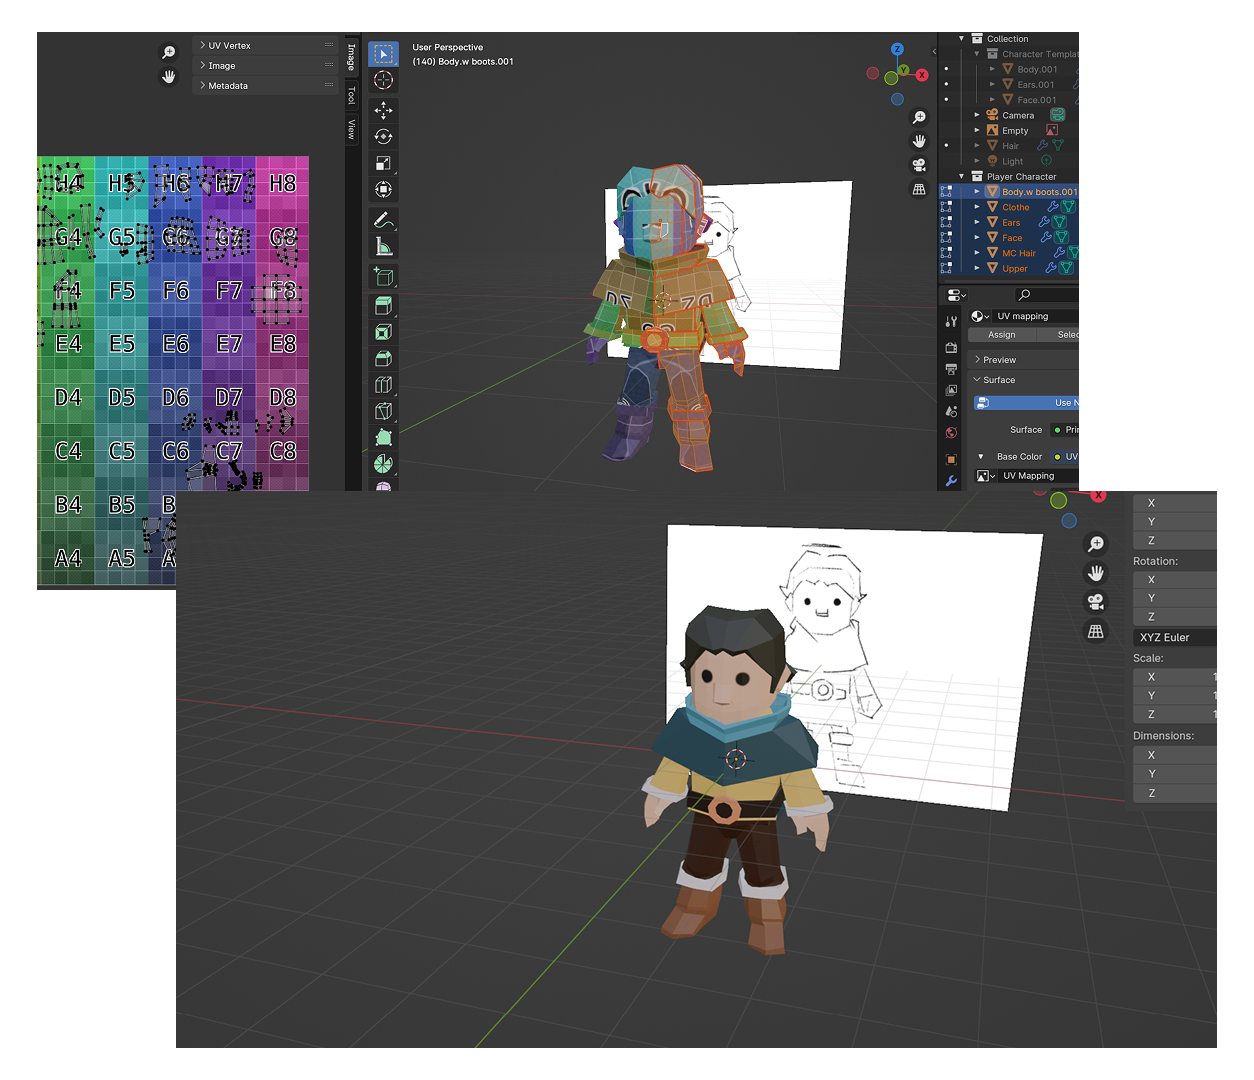
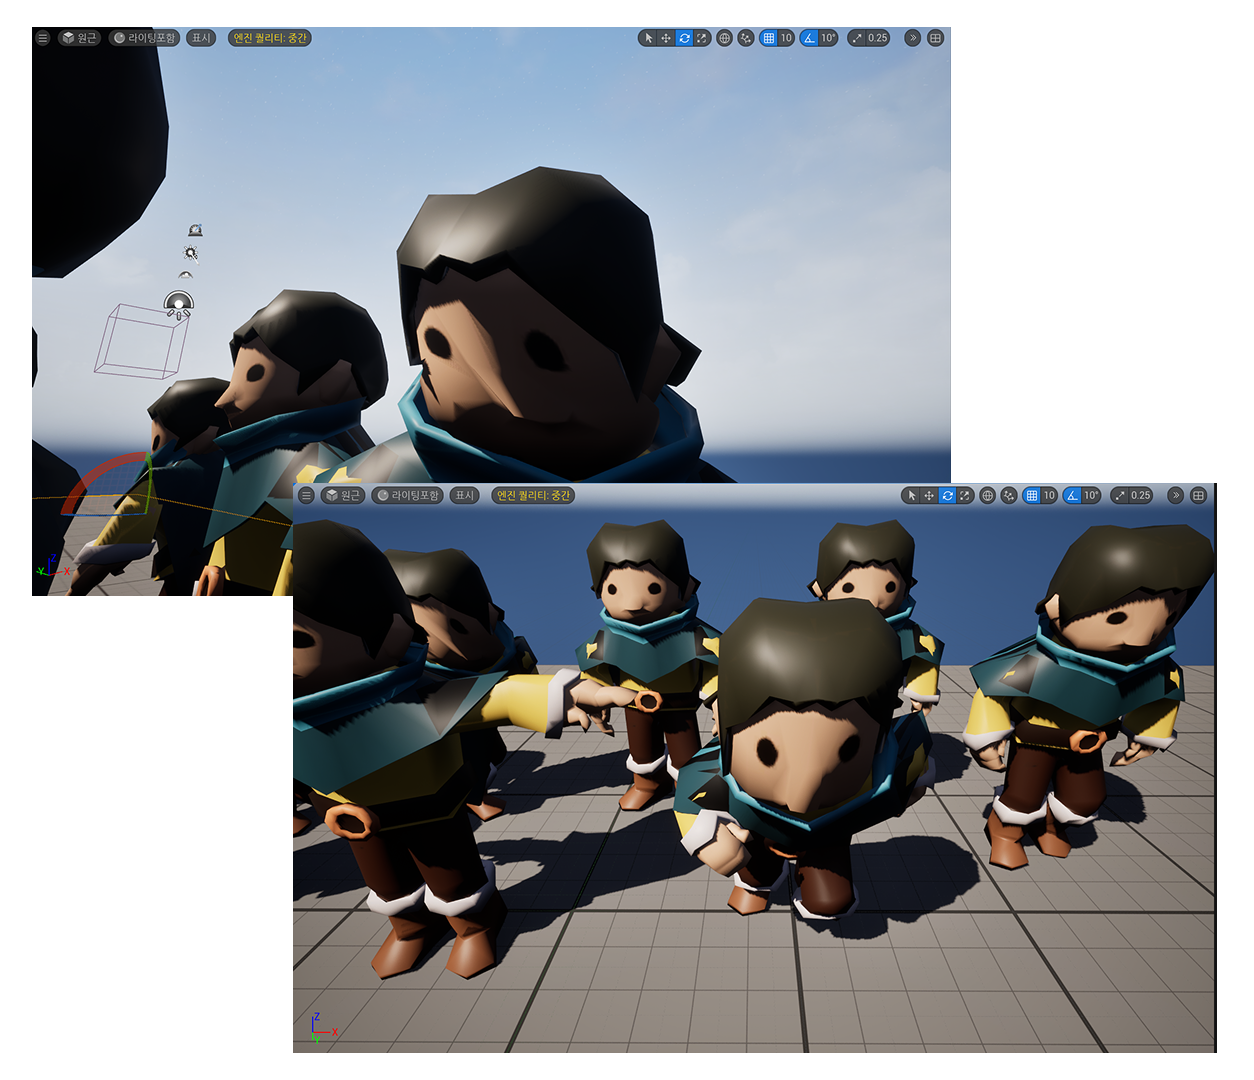
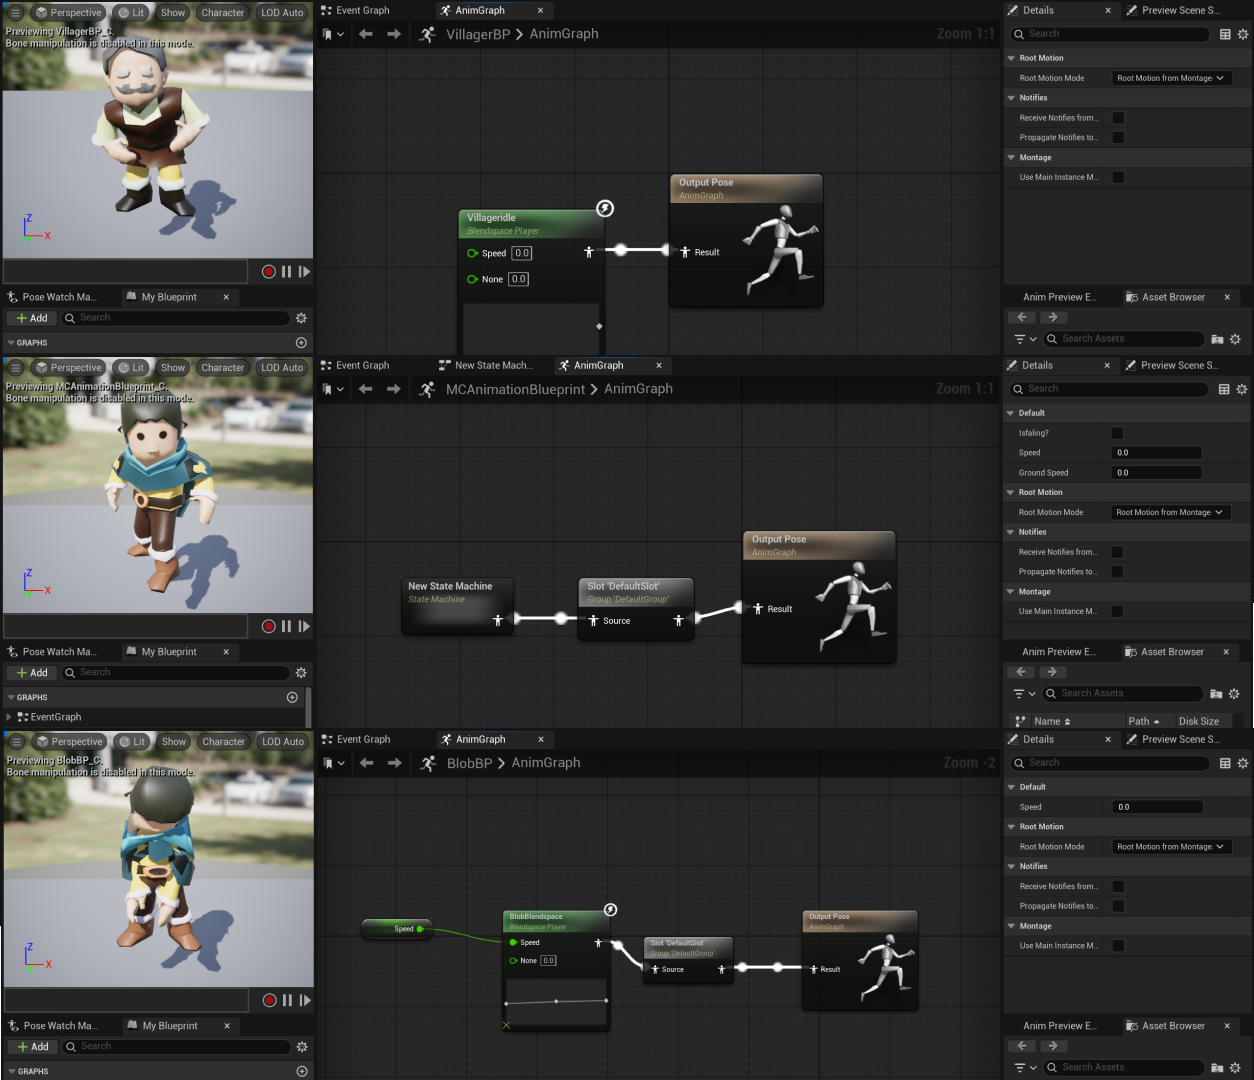
Action Research Cycle Sang — Character Models


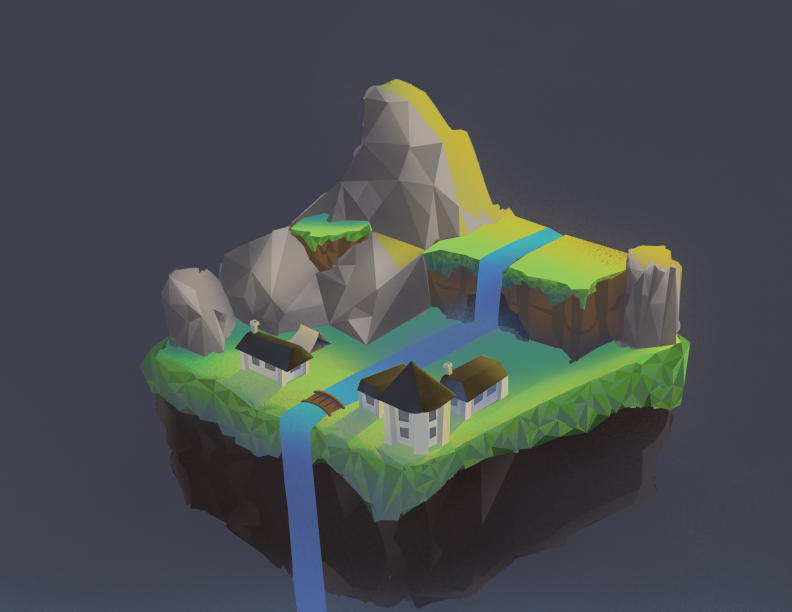
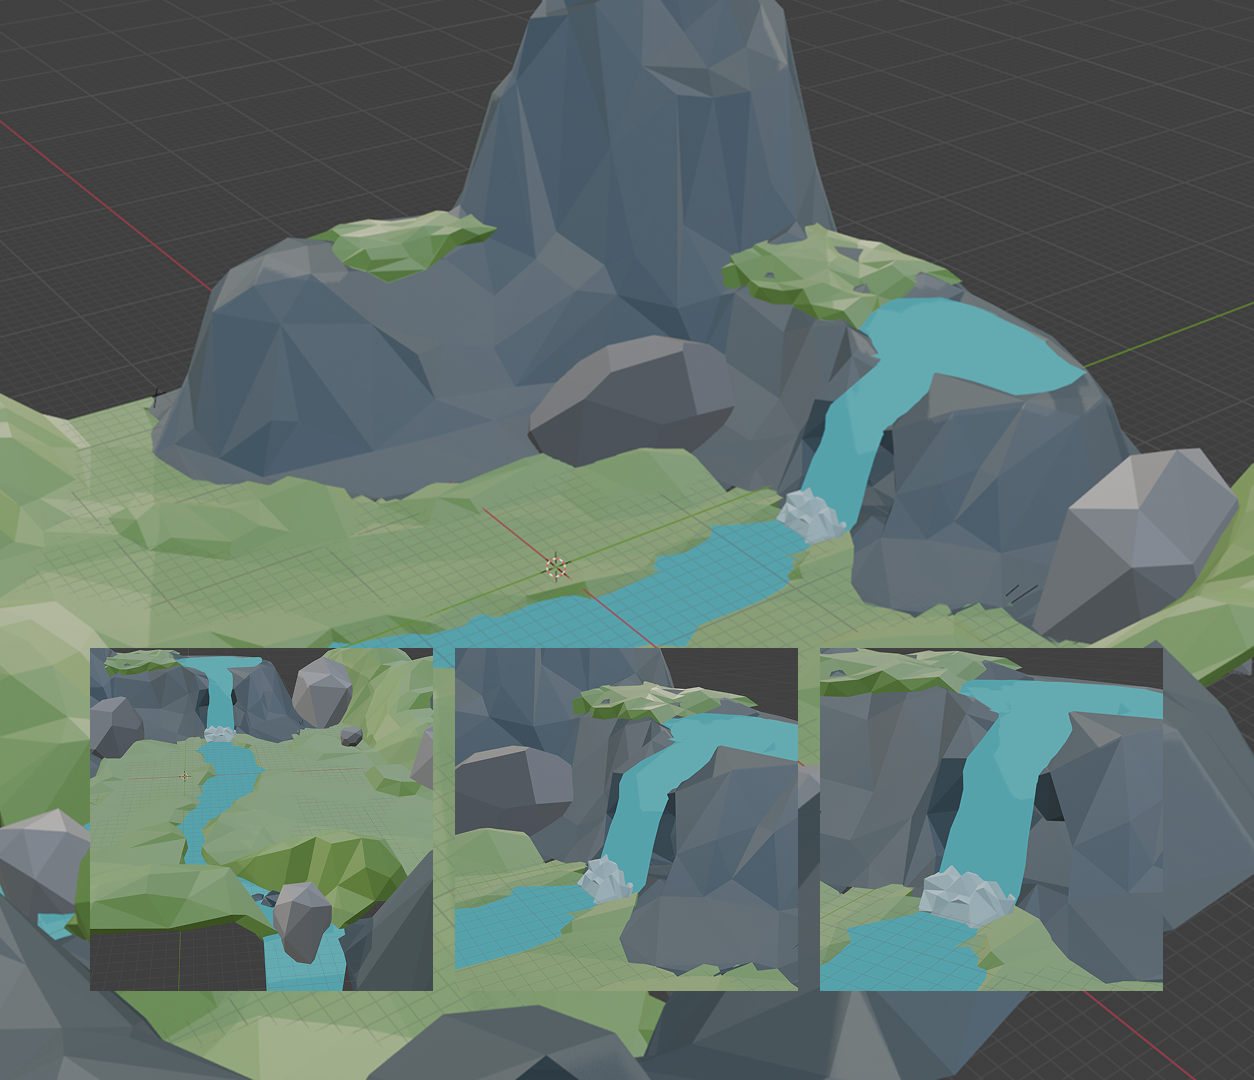
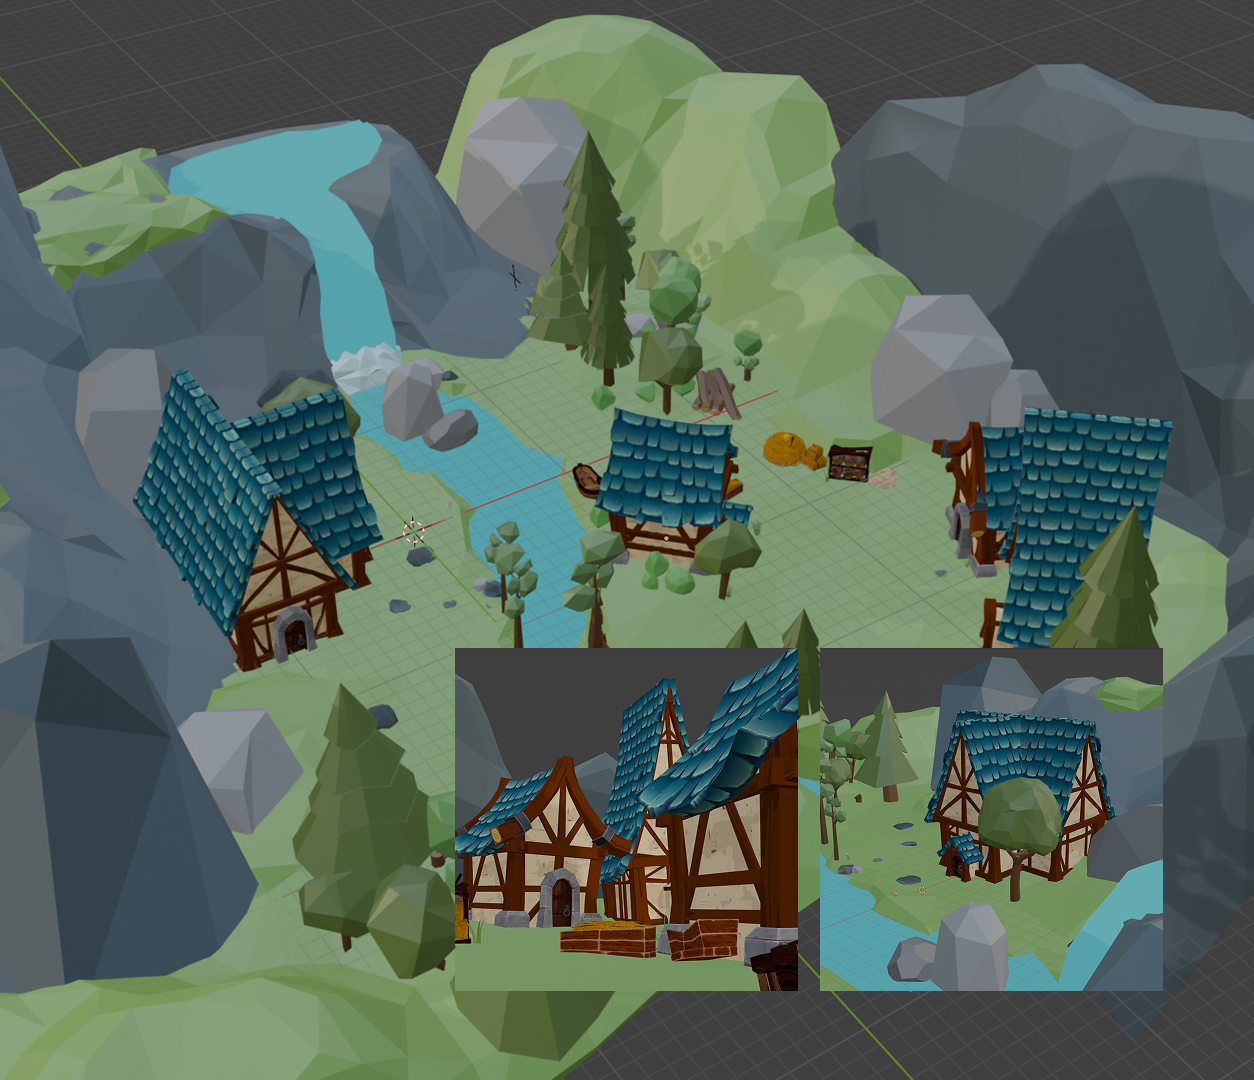
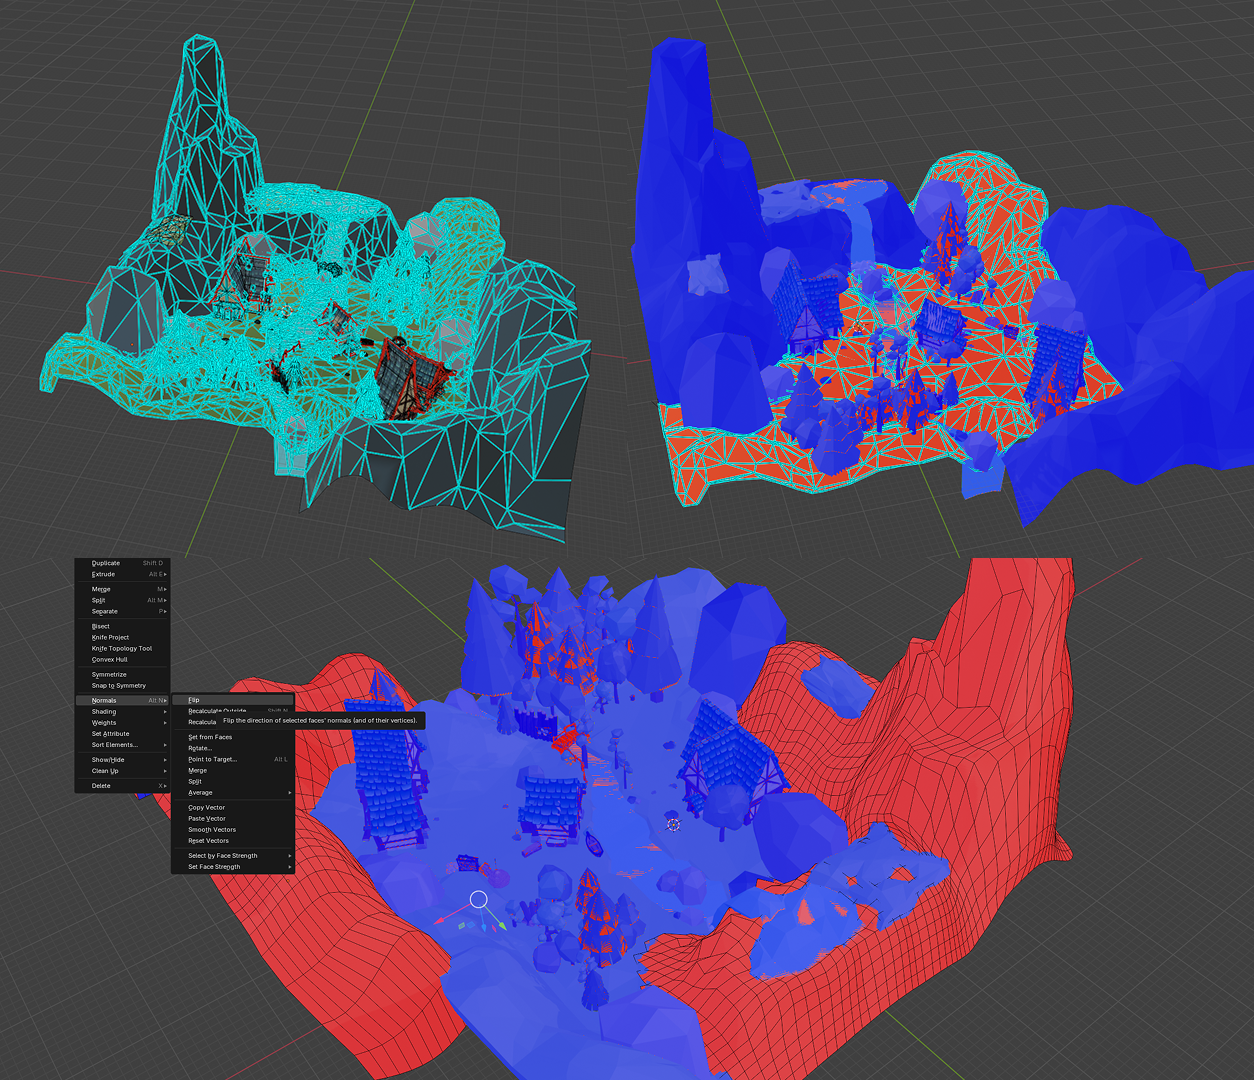
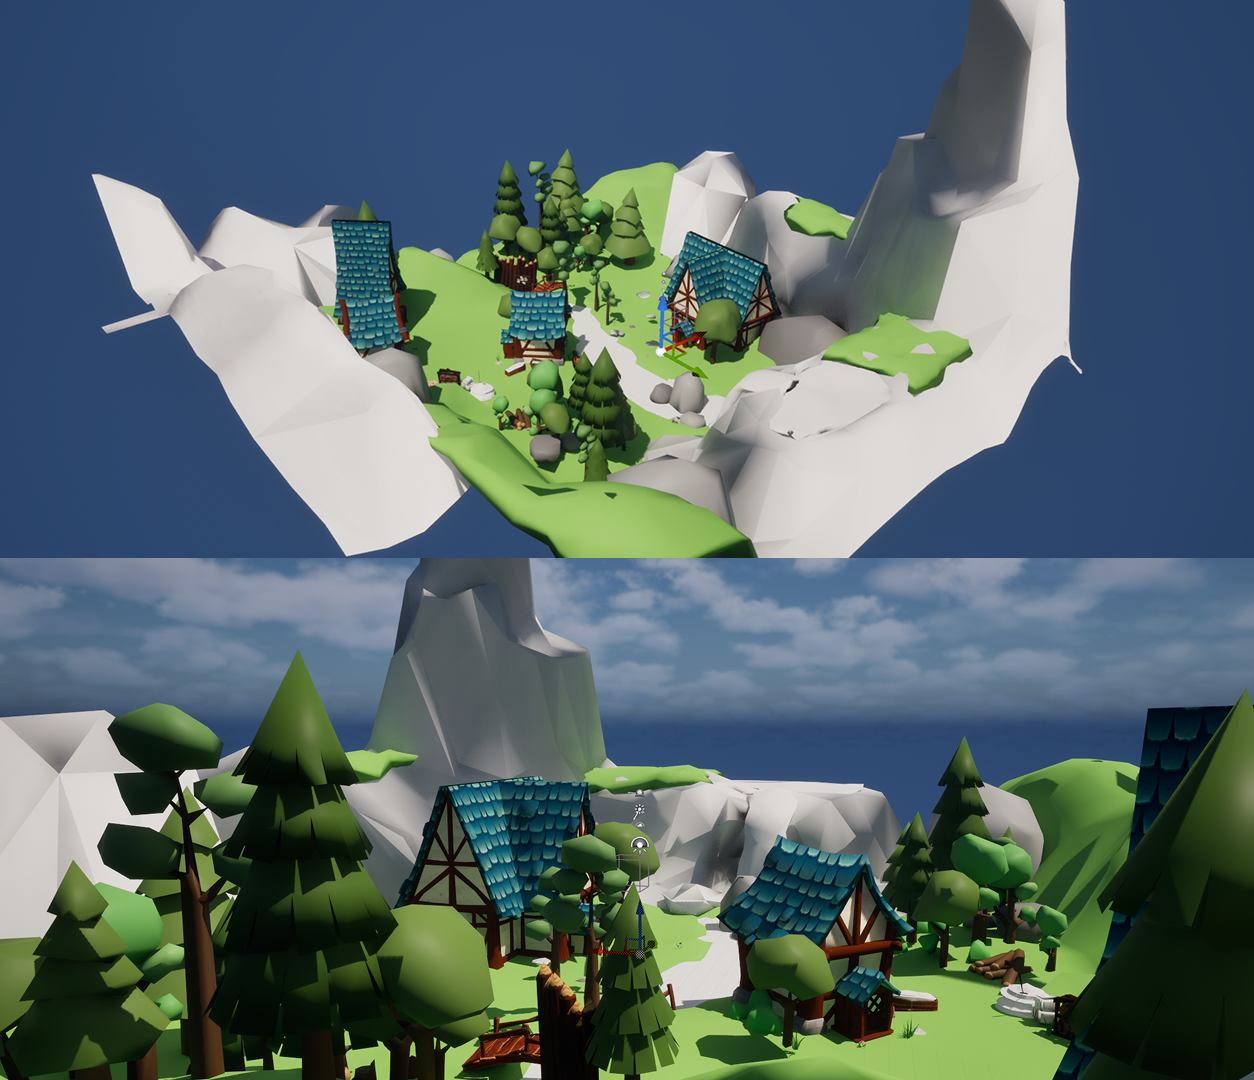
Action Research Cycle Gladdens — Map


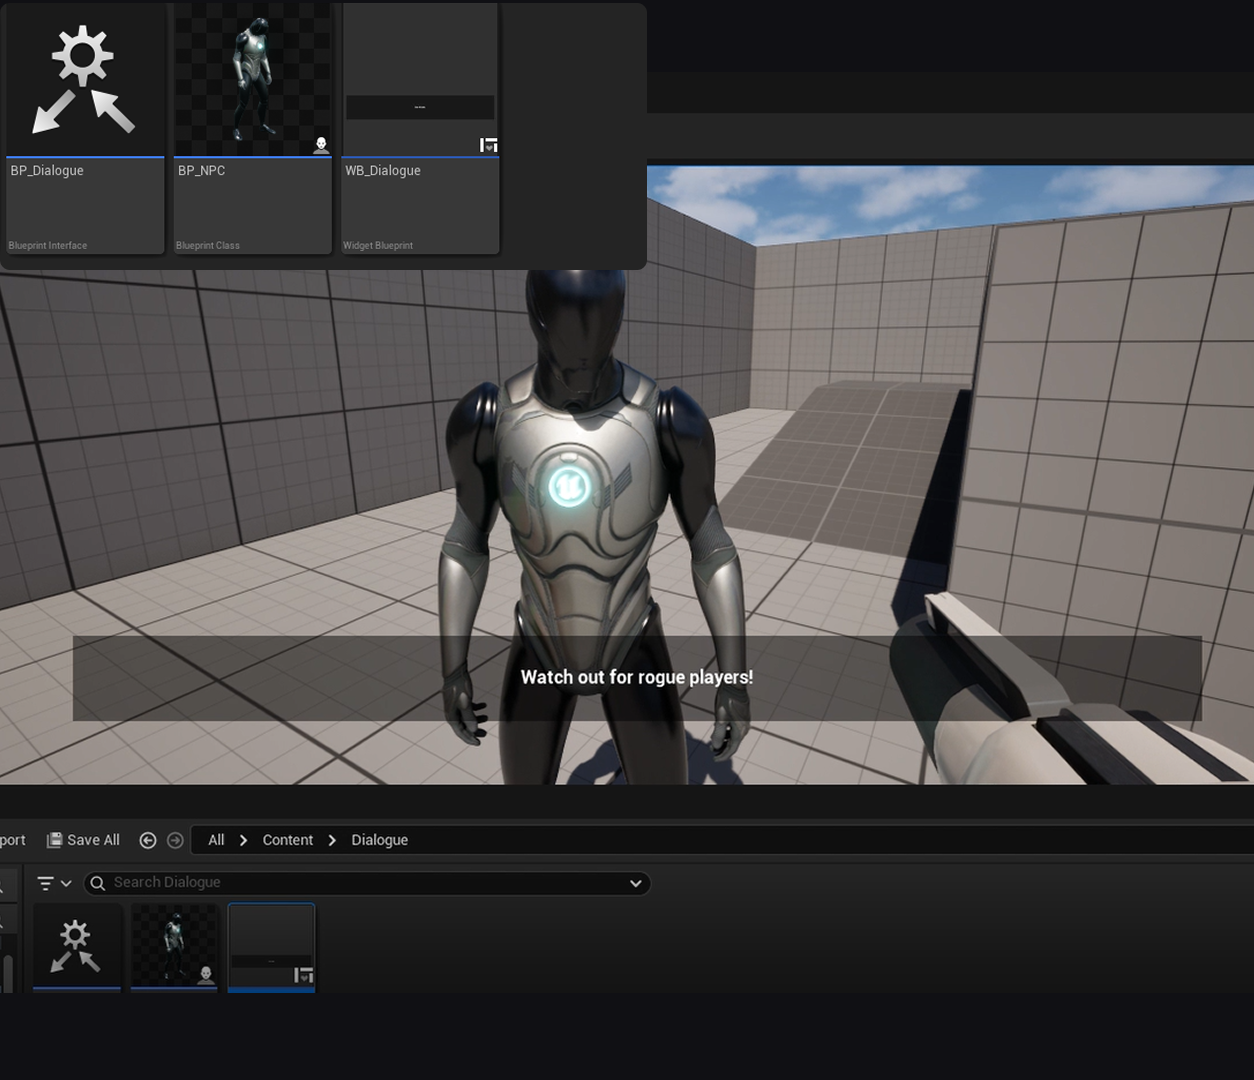
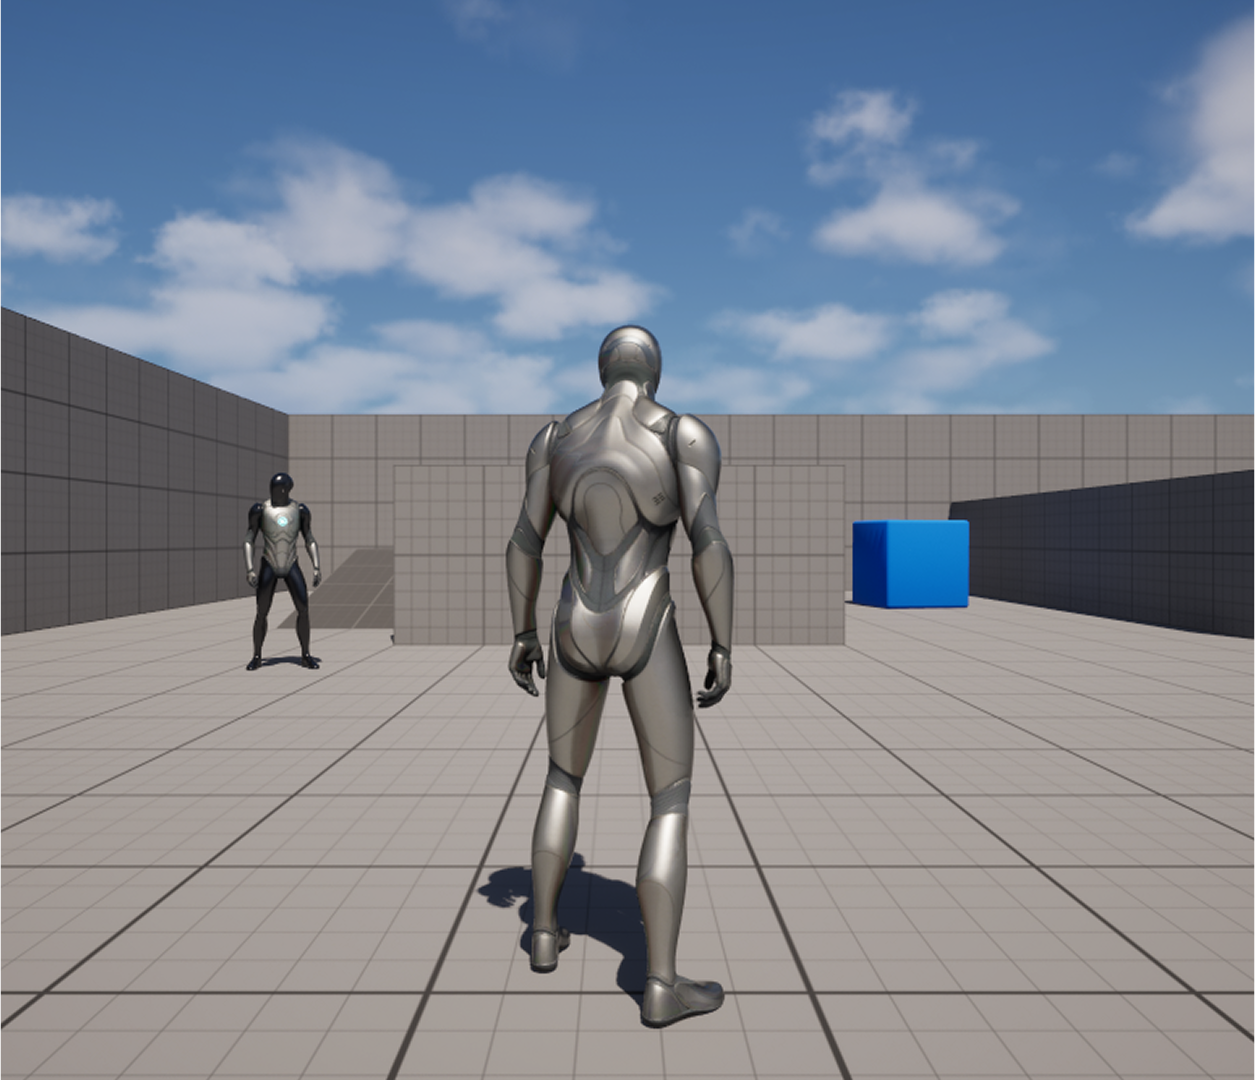
Action Research Cycle Andrew — Interactions in Unreal
Project 2: Prototype
Prototype Research and Development
This is the Final Demo of our Project 2. It combines the assets which the three of us has been doing together. We gained insights on the intigration process and also decided that our Unreal file manager will be Andrew. At the end, we will be iterating with his version of the Unreal project and assist in the process of combining the files together.
Our next steps include fixing some technical issues and improving the overall quality of the game. Some of our considerations indlude, but not limitied to:
- Resolve the issue of the rig animation, and texture
- Model NPC’s and a ominous character for the horror aesthetic
- Create assets and props that can enhance the atmosphere of the game
- Resolve the issue of texturing
- Animations for the Waterfall
- Interactive items
- Map boundaries
- lighting
- Addition of weapons
- Make stylized clouds
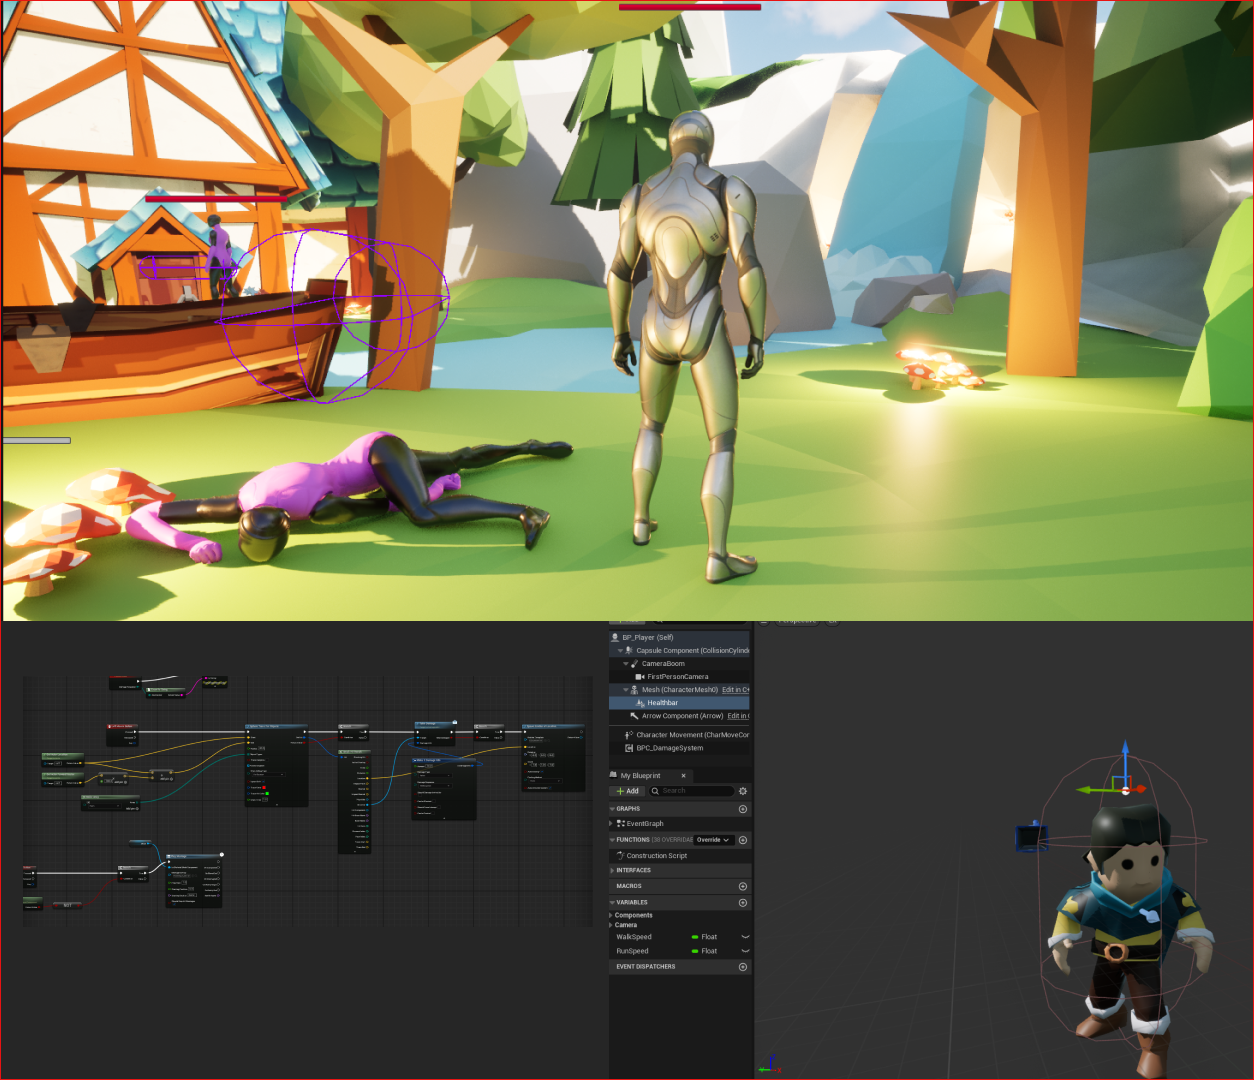
- Fix damage system
- Addition of player attack animations for combat system
- Addition of Inventory
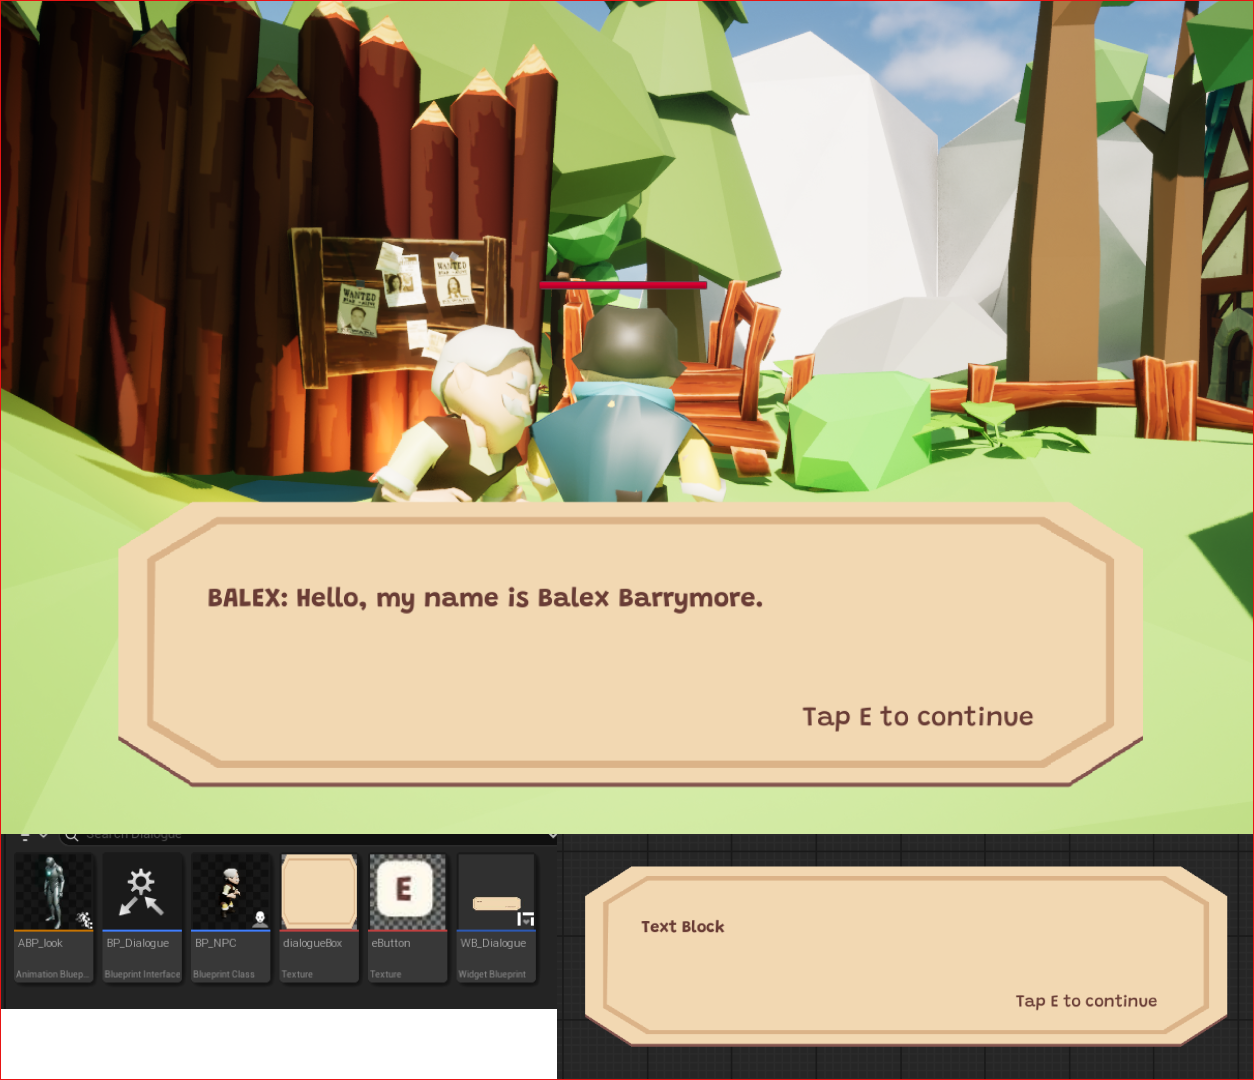
- Modifying design of the dialogue boxes
- Adding meaningful dialogue
- Merging all the content together into the map
Module 3: Product
Research
PLACEHOLDER TEXT, put an introduction to your module 3 research here
Action Research Phase 1
.png)
.png)
.png)
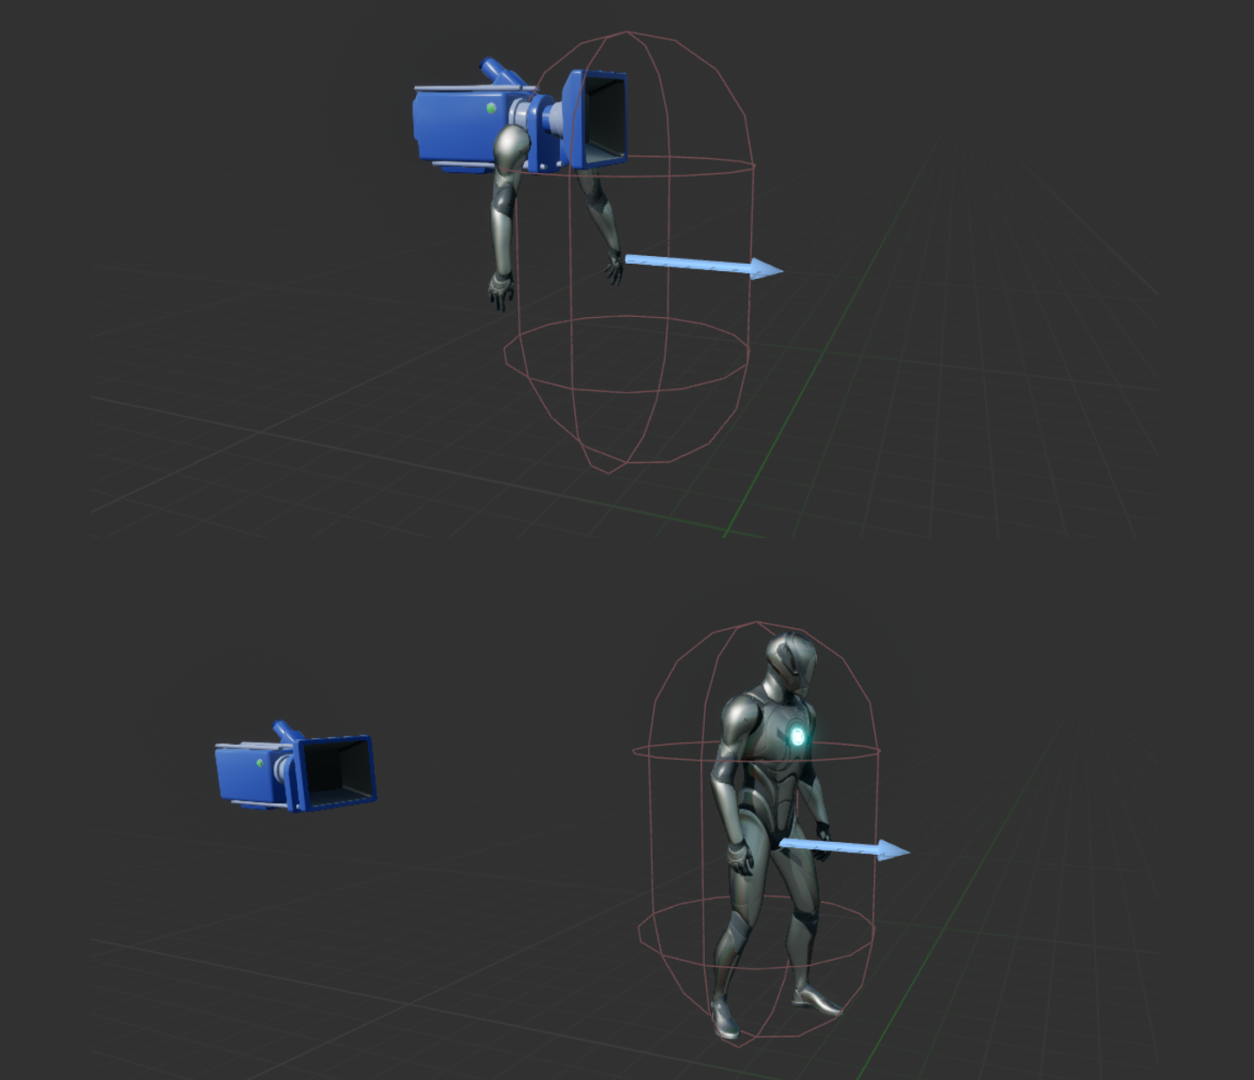
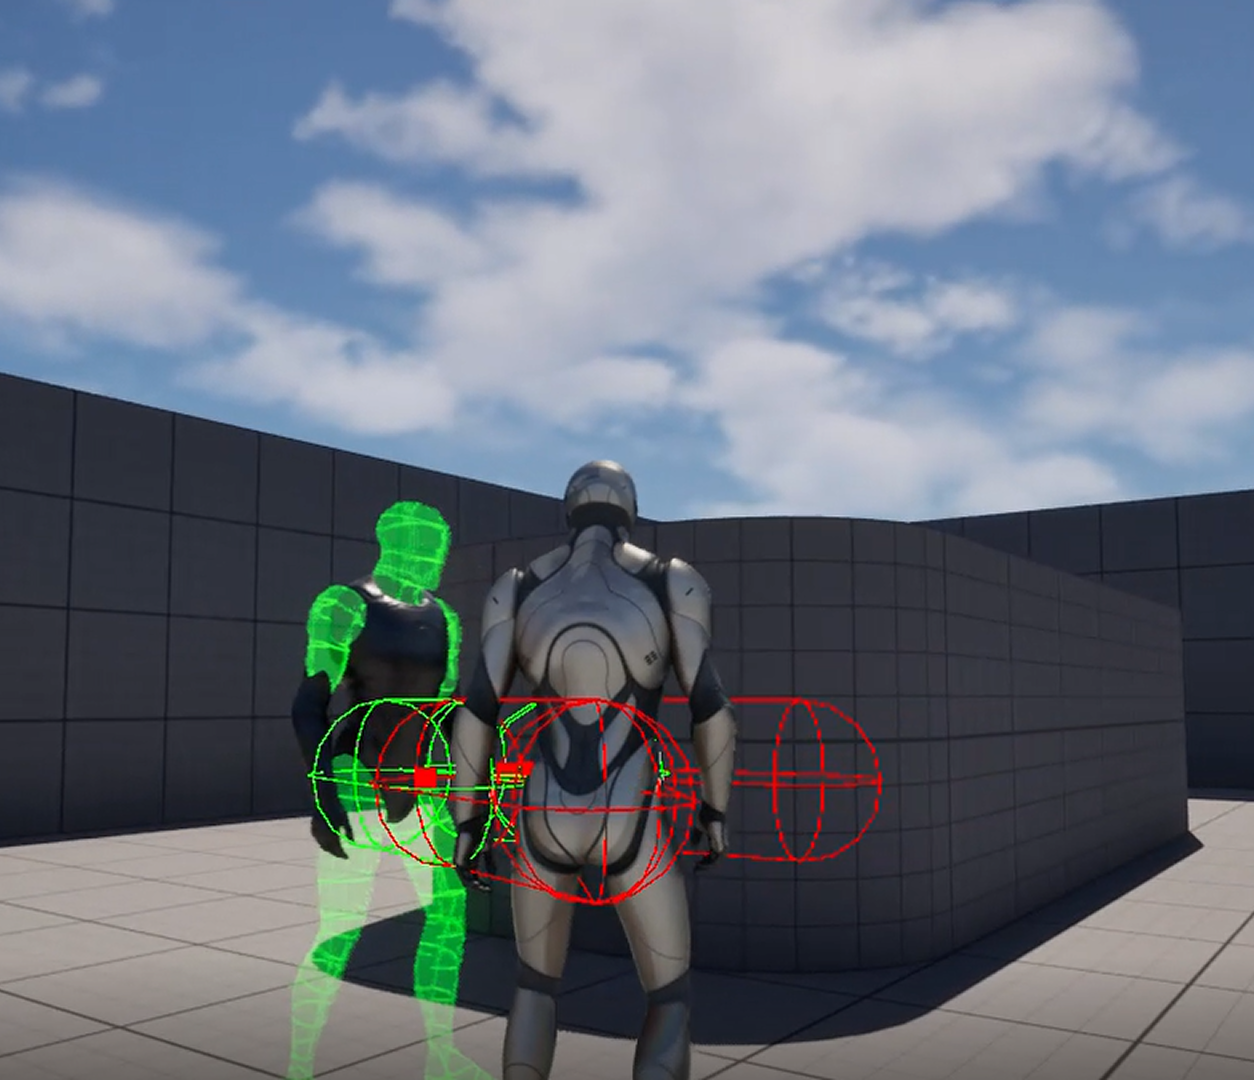
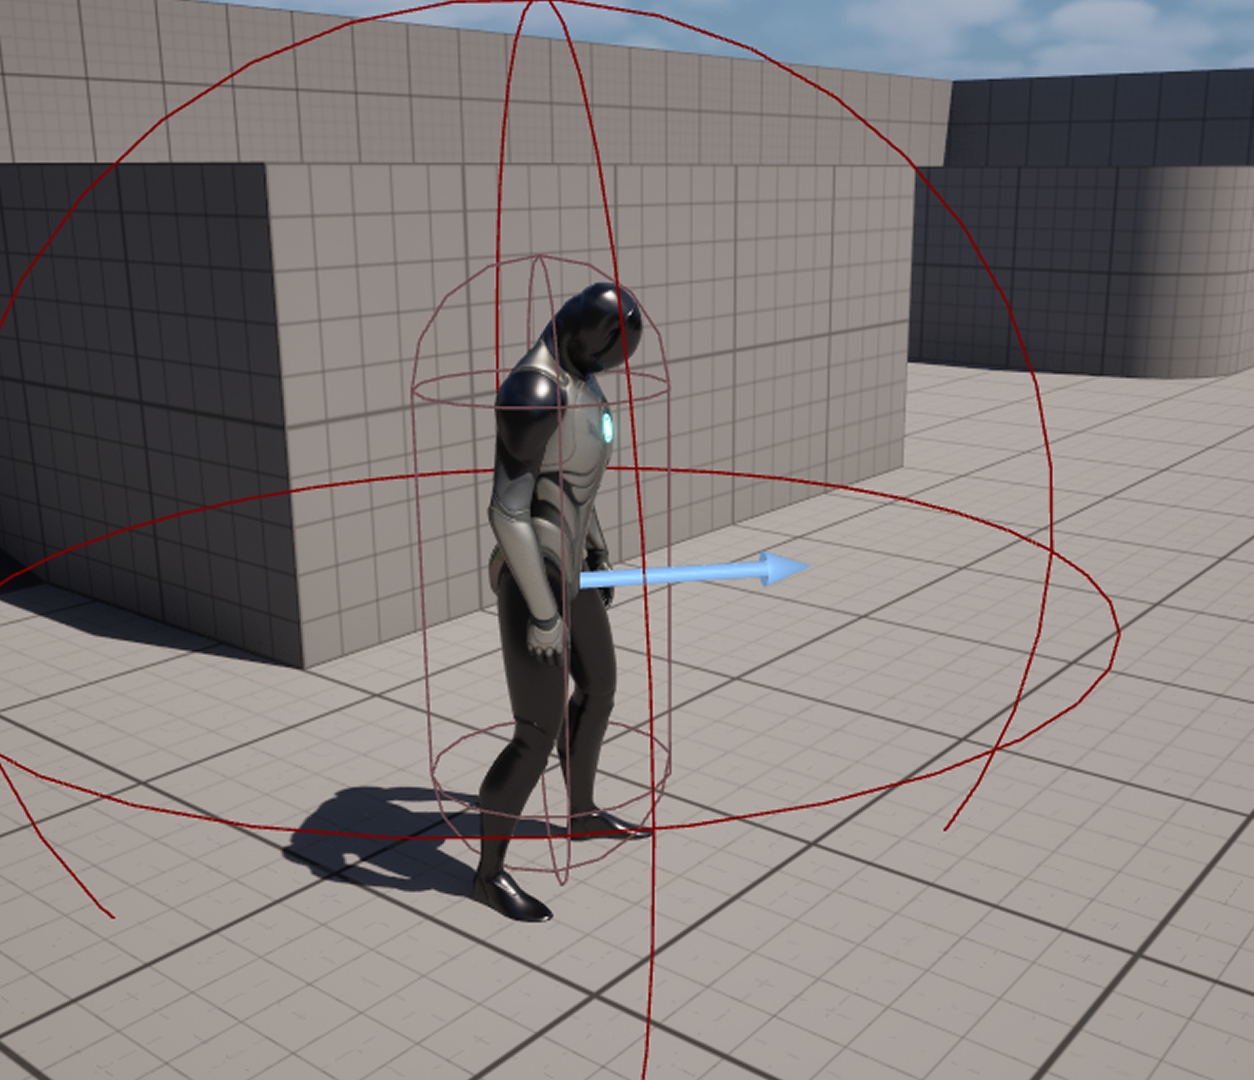
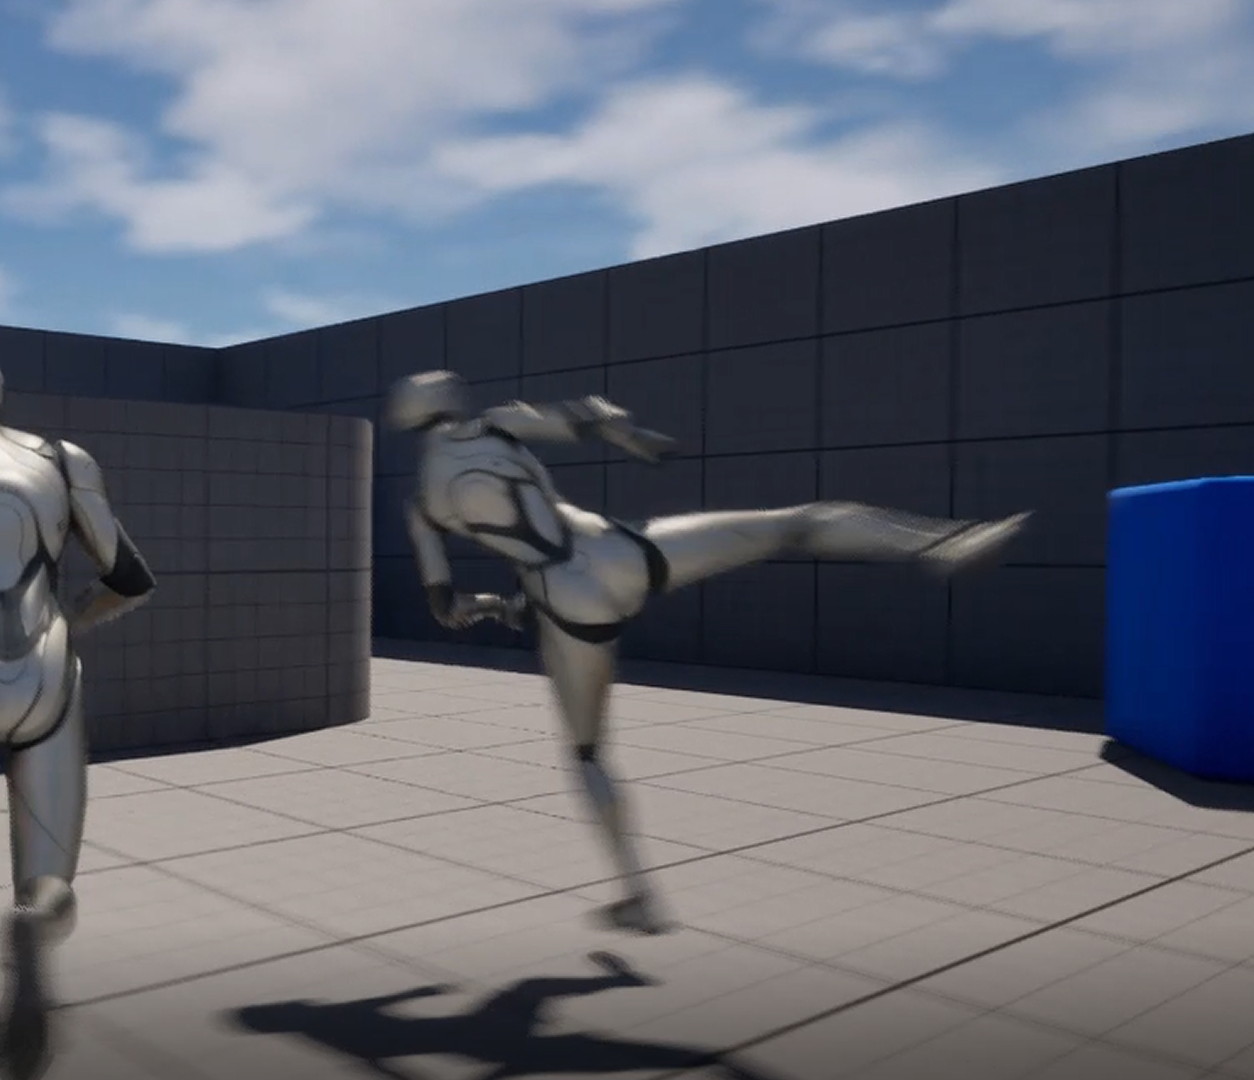
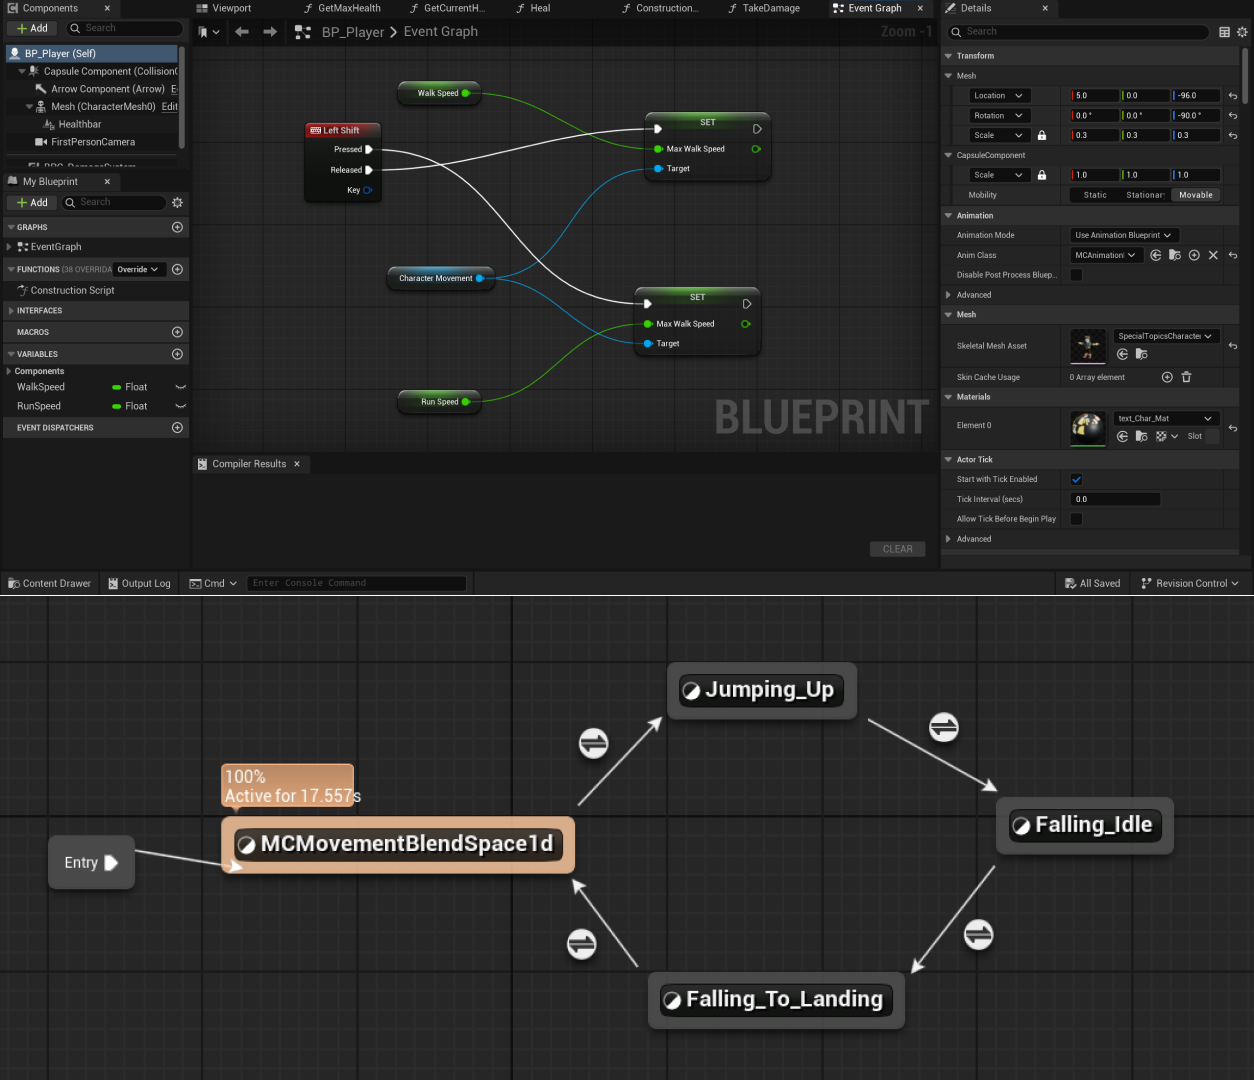
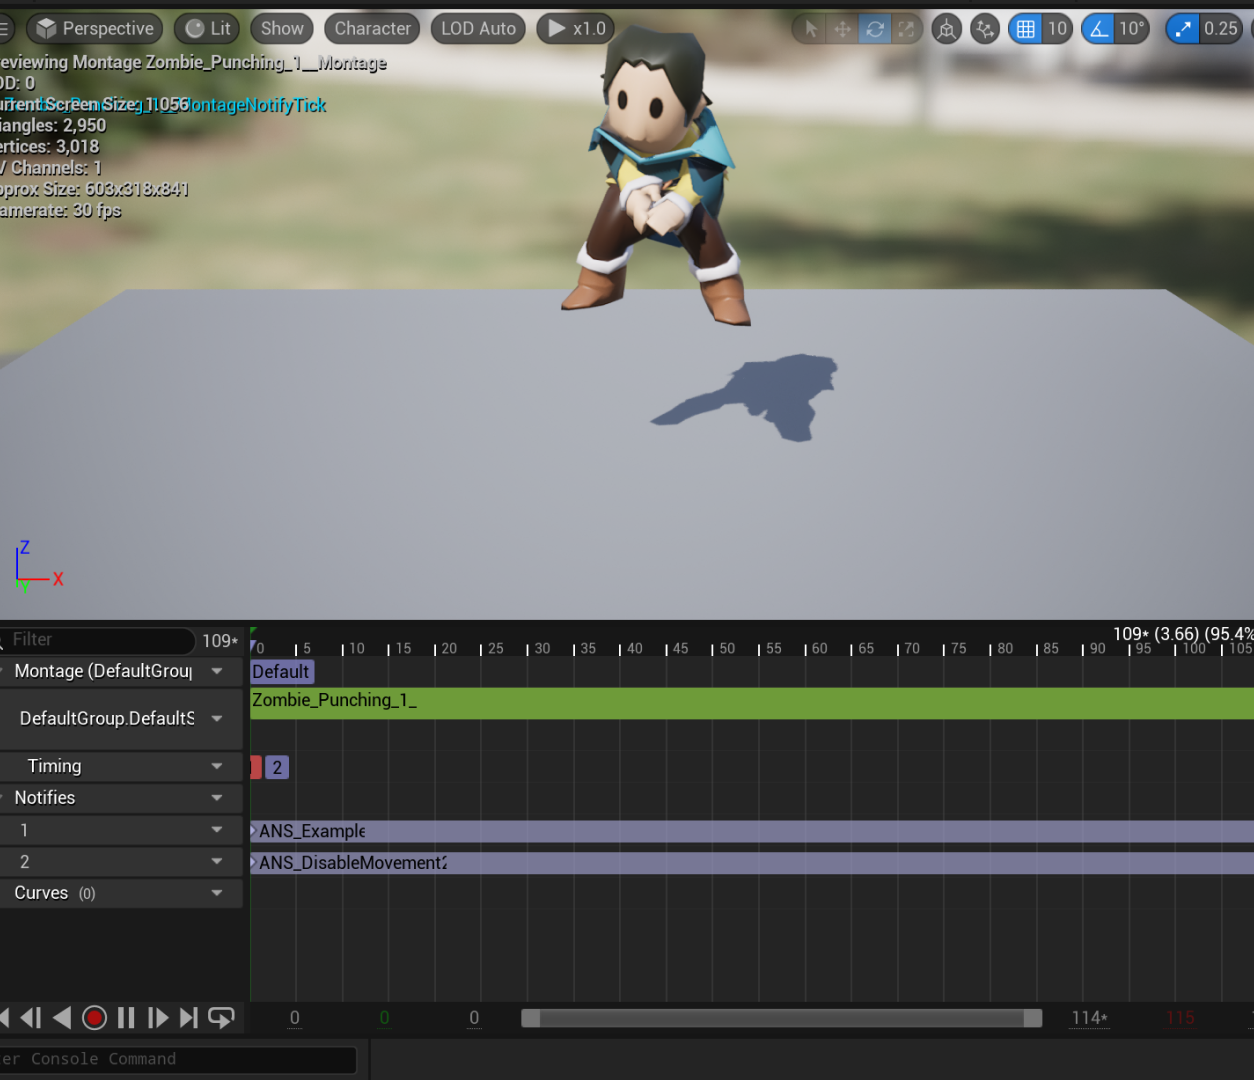
Action Research Cycle Andrew — Debugging & Mechanics
Action Research Cycle Sang
Project Product
Final Demo
Powered by w3.css